Setting up your SSTuino II
Note: Please do not plug in the SSTuino II and/or its components to your learning device or any power source first. We will get to it very soon. 🙂
In this tutorial, we will install the required software, boards and libraries. This allows you to upload code to the SSTuino II. The installation process is simple and we will get you started in no time!
Download Arduino IDE
First, let us download the required software for your learning device. Click on the button below to download Arduino IDE for your Mac or Windows device.
Download Arduino IDE for Mac (Apple Silicon)
Download Arduino IDE for Windows (x64)
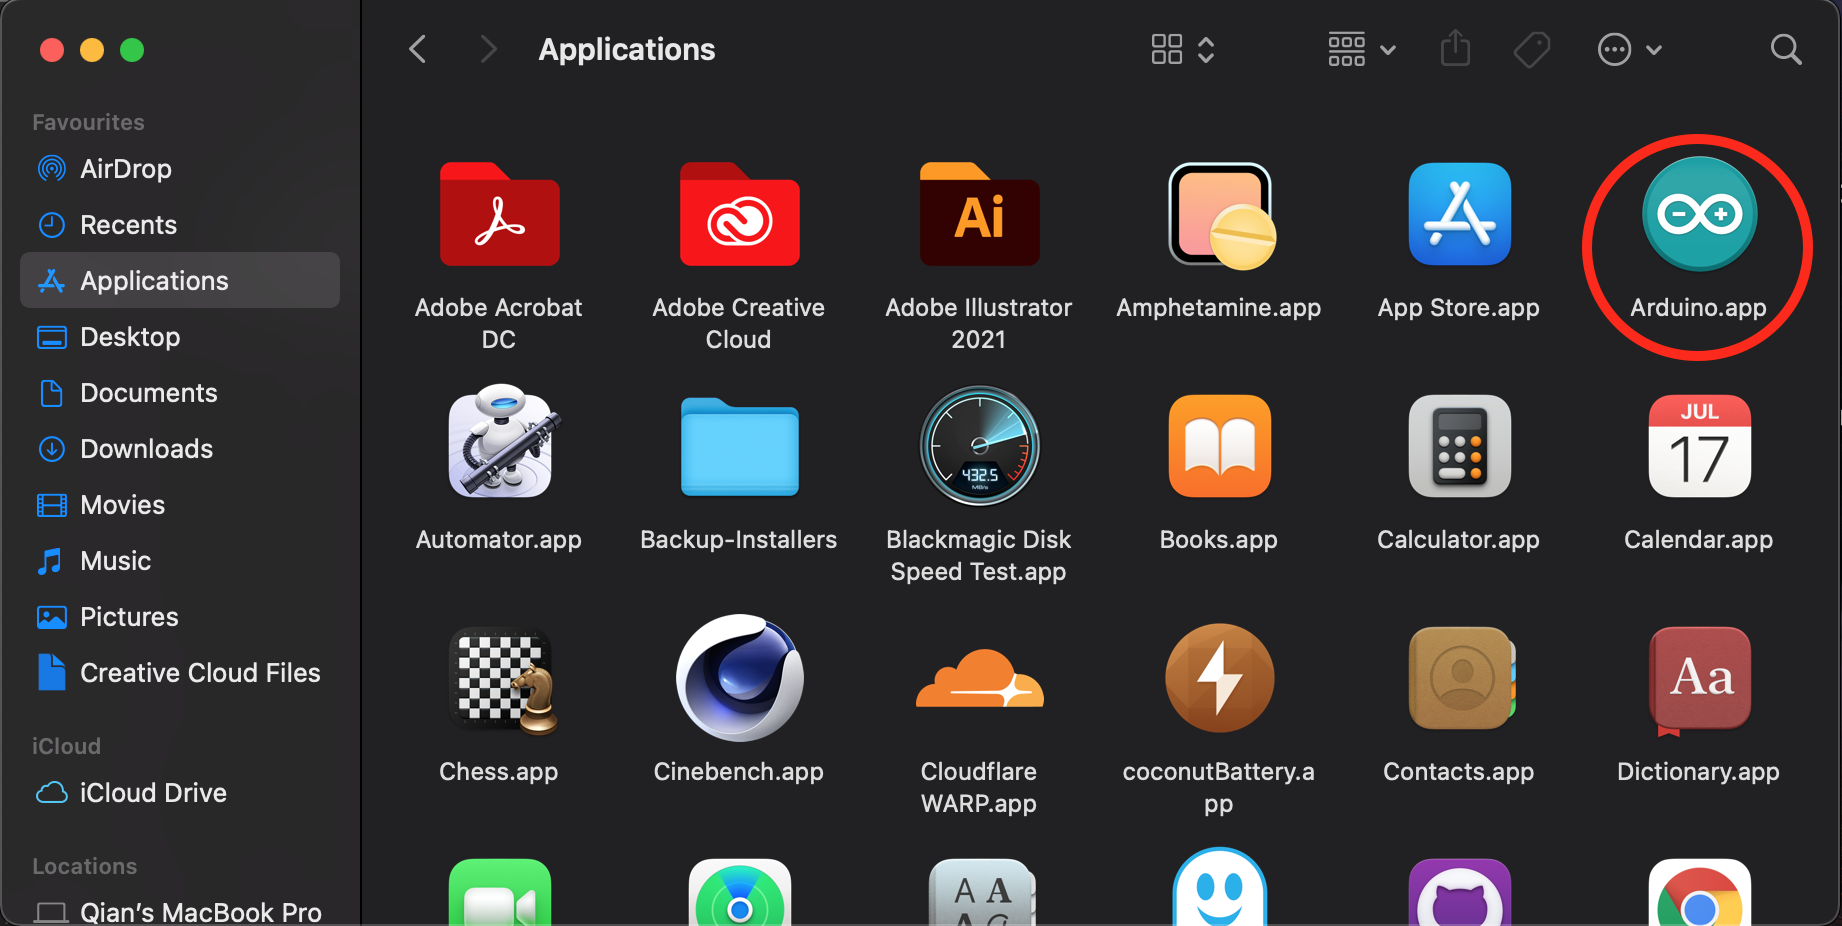
Once the app has been downloaded, drag and drop it into your Applications folder (if you are on a Mac).
Launch the app. You might notice this pop up appearing on the screen. Click on Open
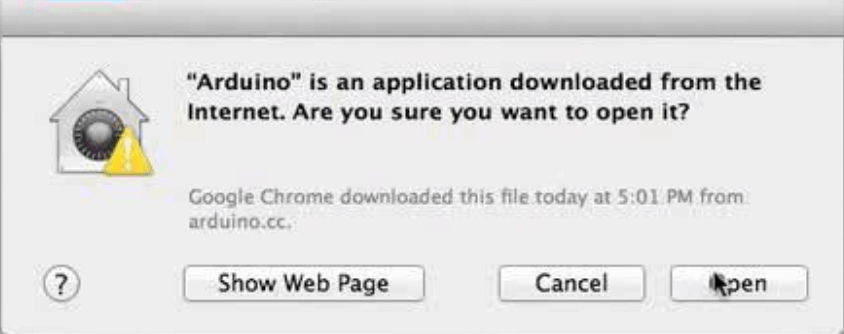
Tip: For those who are not able to install due to parental controls, please ask your parents to authorise the installation. Alternatively, you can leave the app inside your Documents or Downloads folder, and directly launch it from there.
Installing the SSTuino II board type
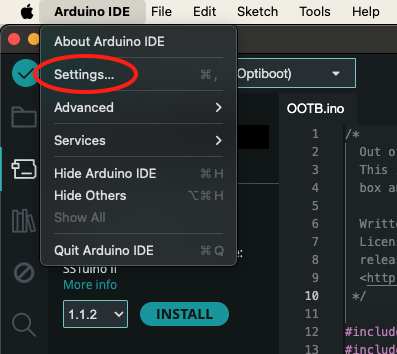
Go to the Settings of the Arduino app:
Copy this line and paste it into the box circled ("Additional Boards Manager URLs"):
https://fourierindustries-llp.github.io/SSTuino_II_Core/package_FourierIndustries-LLP_SSTuino_II_Core_index.json
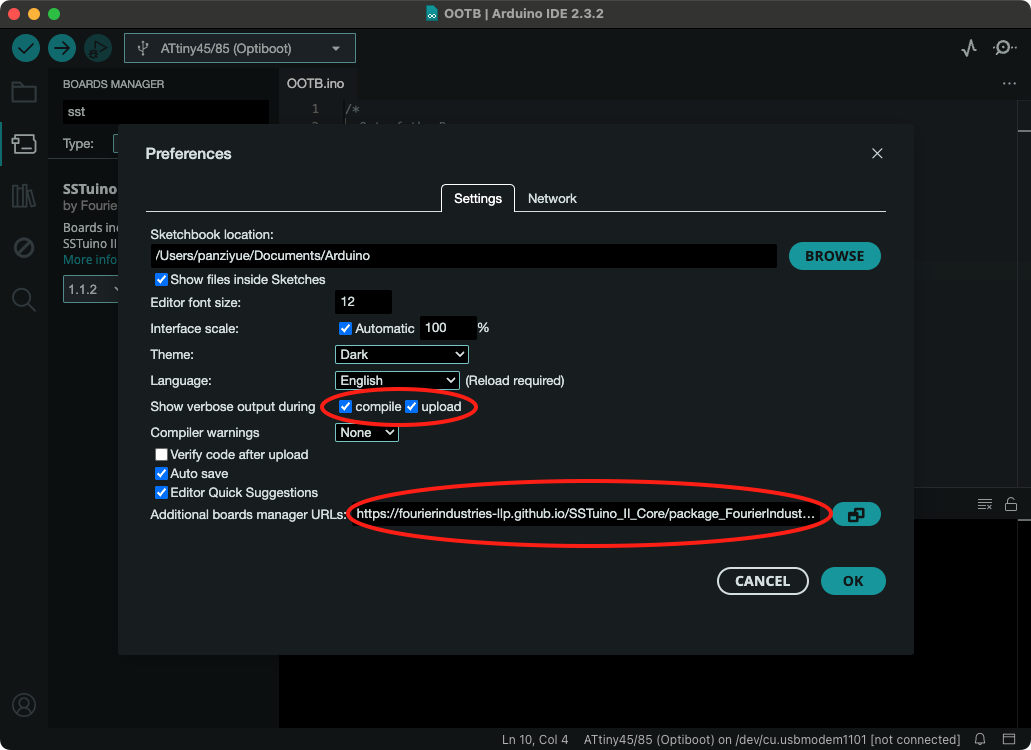
Let us enable the Show verbose output during compile upload too! Click OK after you have completed.
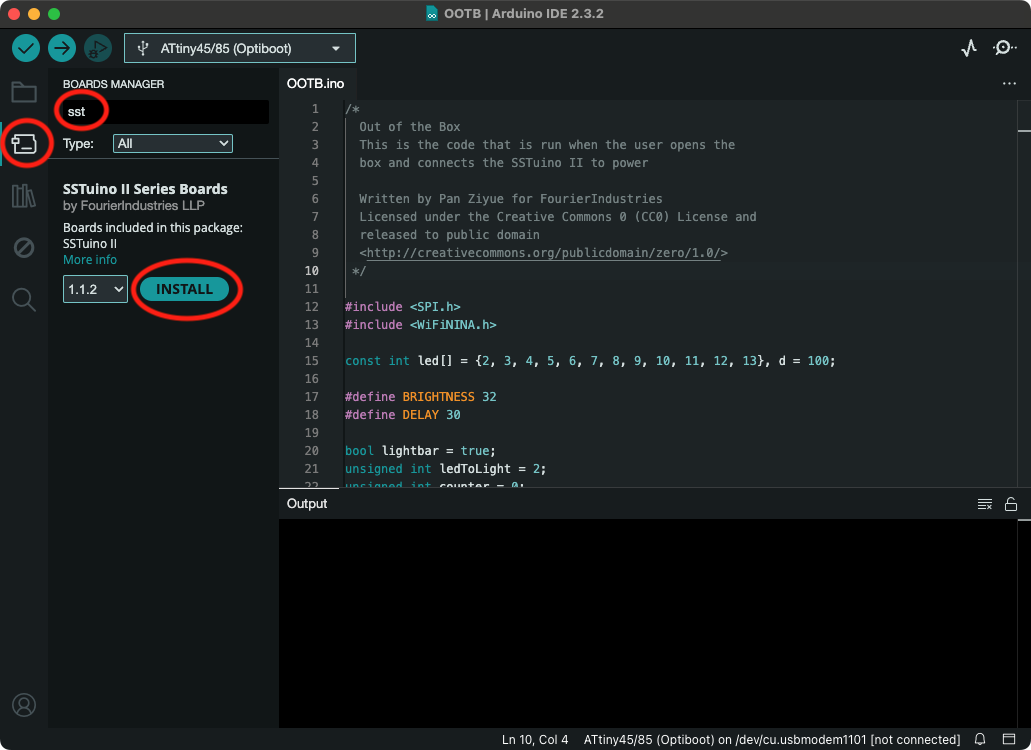
Next, click on the Arduino Board Manager tab on the left, type in SSTuino into the search bar and click on install.
⚠️ Old Version Incompatibility with Arduino IDE 2: Do not use Board v1.1.1 and below with Arduino IDE 2! This is very important to prevent bricking your SSTuino II. If you are interested in the underlying issue, please see this Github Issue.
Done!
That's all you have to do to install the SSTuino II to your Learning Device.