Displays
Table of Contents
Overview
Ever wondered if you could display your data on a screen? In this tutorial, we will explore how to use the SSD1306 OLED Display!
Adafruit SSD1306 Demo
We will make use of the demo provided by Adafruit to test the OLED Display out!
Wiring it up
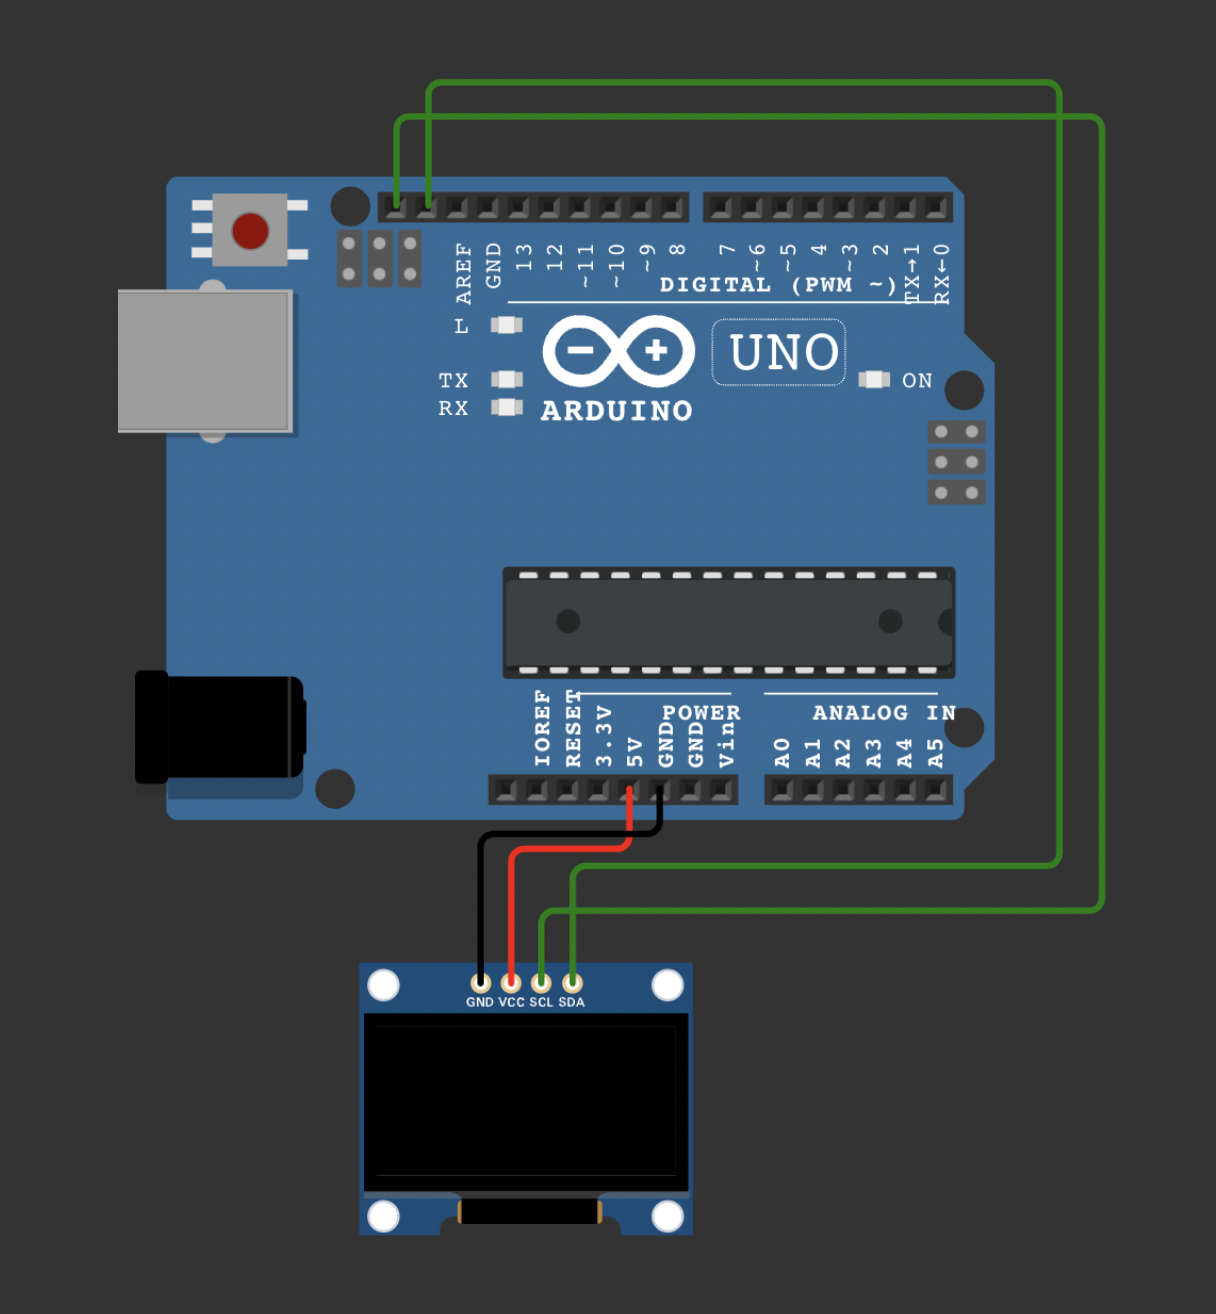
First, we will need to connect the SSD1306 to the SSTuino as follows:
- GND of display to GND of SSTuino
- VCC/Vin of display to 5V of SSTuino
- SCL of display to SCL of SSTuino
- SDA of display to SDA of SSTuino
Code
Software Setup
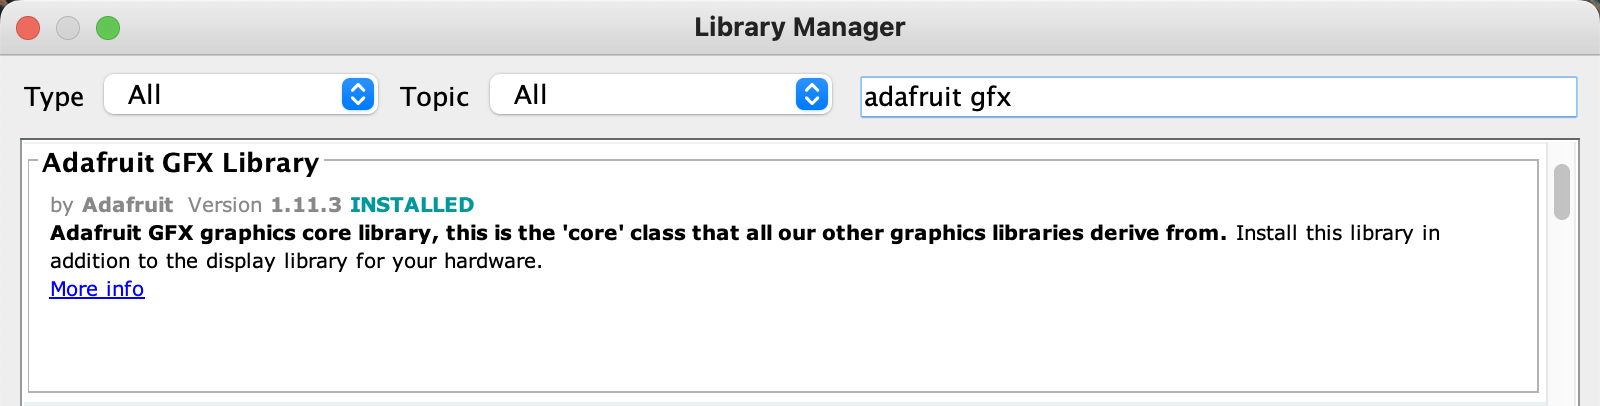
You will need to install two external libraries to your Arduino IDE, called "Adafruit_SSD1306 and Adafruit_GFX". Simply open the Library Manager under the Tools top bar menu and search for "adafruit ssd1306" and "adafruit gfx".

Example code
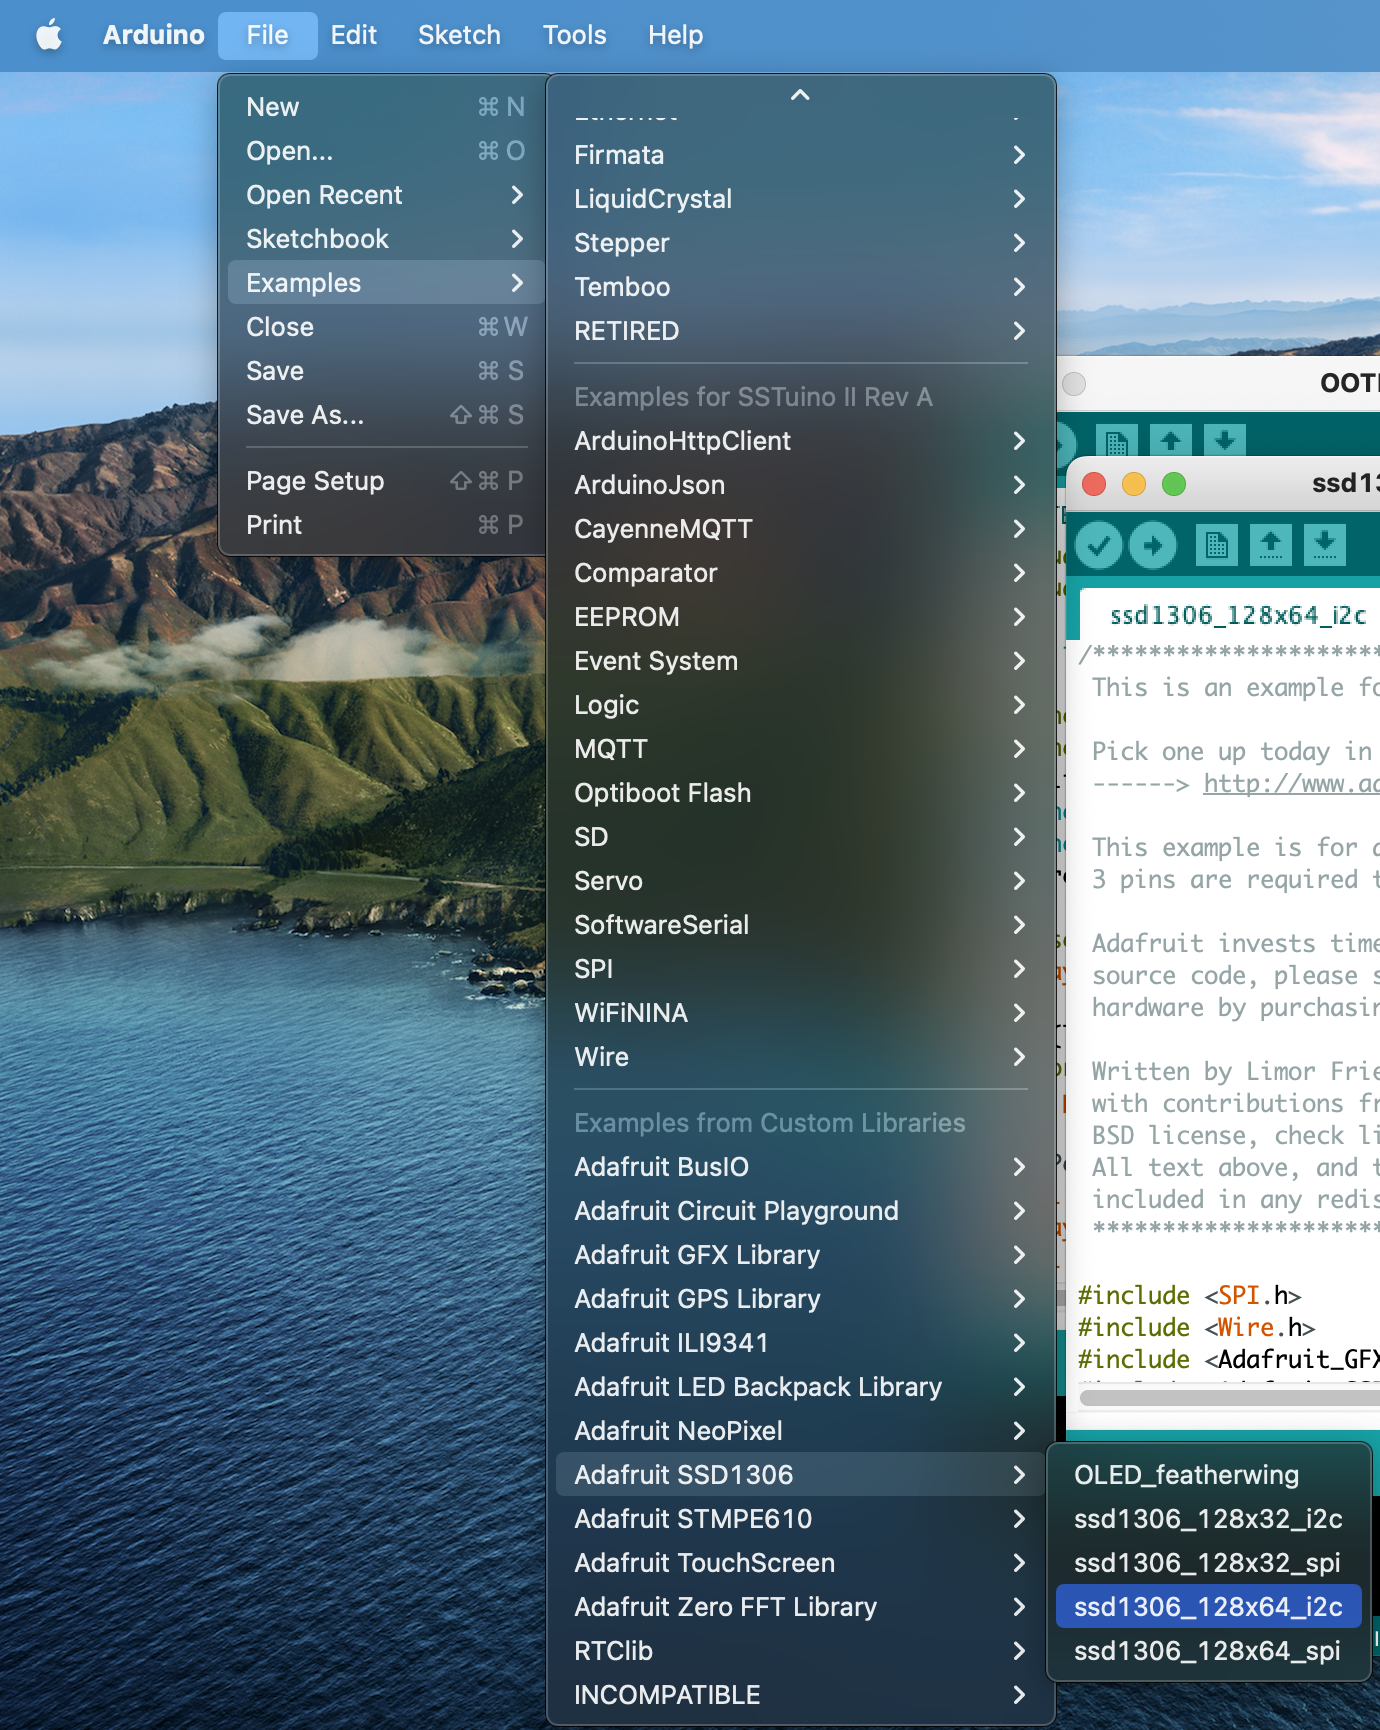
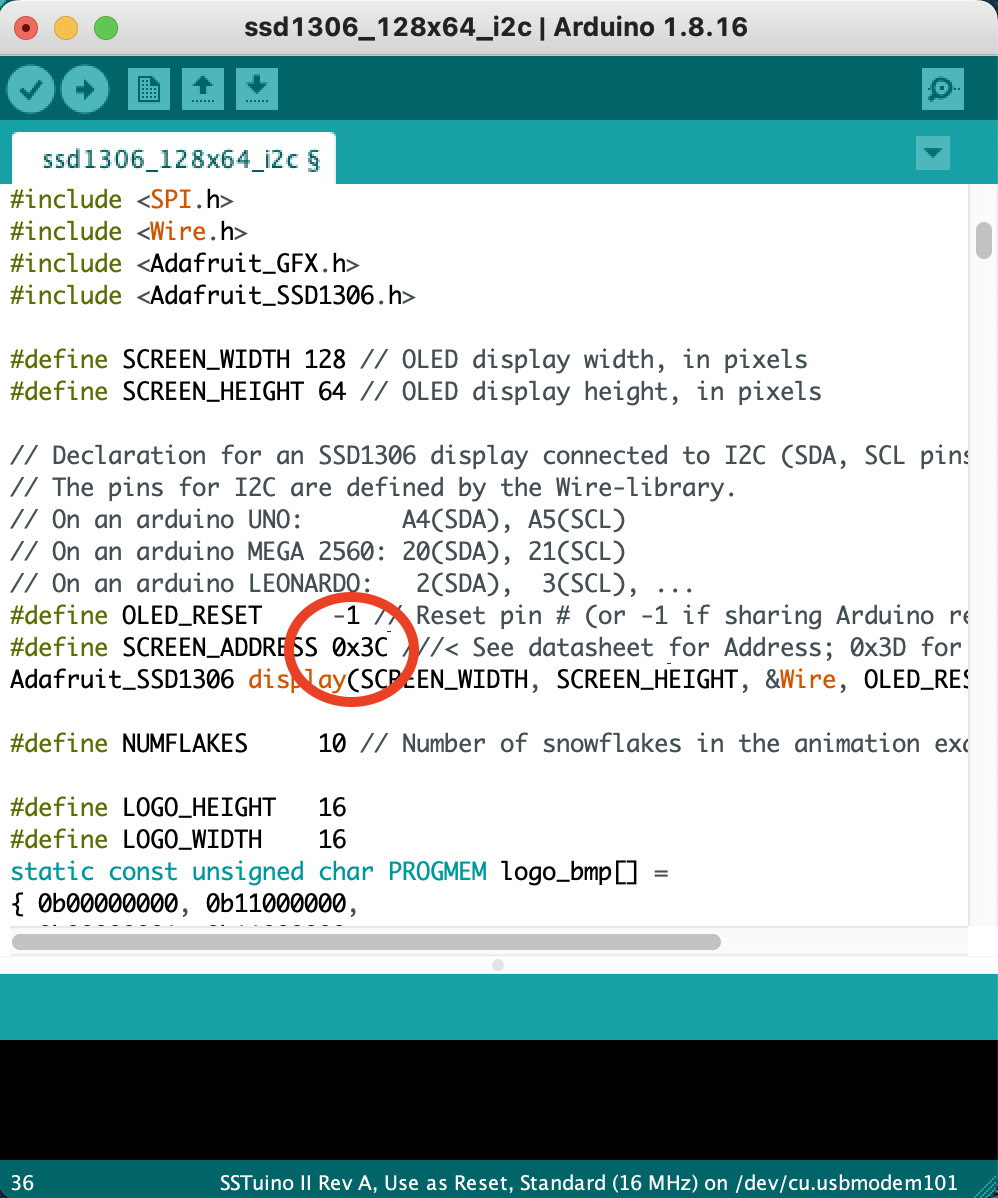
Next open up the example code by going to File > Examples > Adafruit SSD1306 > SSD1306_128x64_i2c. Change the address to 0x3C for our specific OLED Display as indicated in the picture below:
Upload the code to the SSTuino. The OLED Display should light up with its own test sequence!
Room Thermometer with TMP36
Next, we are going to use the TMP36 to measure the temperature of your surroundings and display it on the OLED Display.
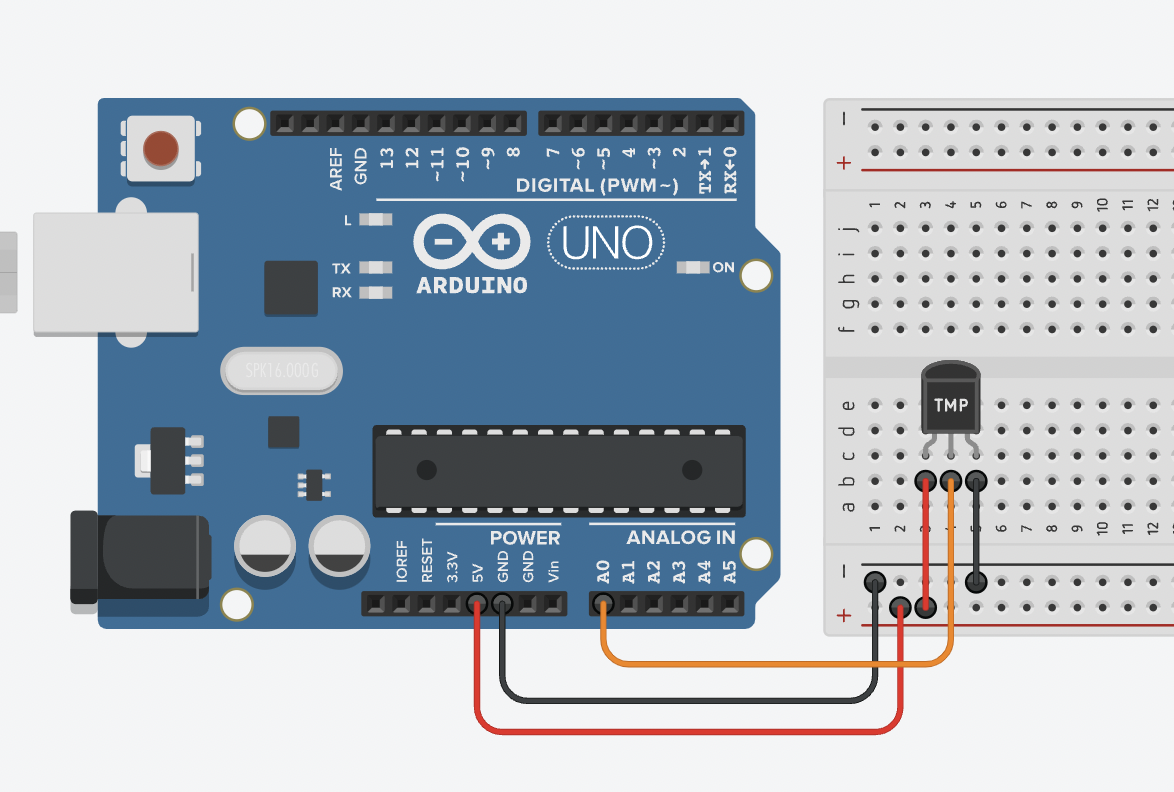
Wiring it up
First, we will need to connect the SSD1306 to the SSTuino as follows:
- GND of display to GND of SSTuino
- VCC/Vin of display to 5V of SSTuino
- SCL of display to SCL of SSTuino
- SDA of display to SDA of SSTuino
Then connect the TMP36 to the SSTuino as follows:
Code
/*
Temperature Sensor + OLED Tutorial for SSTuino II
Written by Goh Qian Zhe, with code derived from Adafruit's libraries.
Find out more at knowledge.fourier.industries
 */
#include <SPI.h>
#include <Wire.h>
#include <Adafruit_GFX.h>
#include <Adafruit_SSD1306.h>
#include <Fonts/FreeSans9pt7b.h> // Additional Fonts
#include <Fonts/FreeSans24pt7b.h>

#define SCREEN_WIDTH 128 // OLED display width, in pixels
#define SCREEN_HEIGHT 64 // OLED display height, in pixels
#define OLED_RESET     -1 // Reset pin # (or -1 if sharing Arduino reset pin)
#define SCREEN_ADDRESS 0x3C ///< See datasheet for Address; 0x3D for 128x64, 0x3C for 128x32
Adafruit_SSD1306 display(SCREEN_WIDTH, SCREEN_HEIGHT, &Wire, OLED_RESET);
int temp = 0;

void setup() {
  pinMode(A0, INPUT);
  Serial.begin(9600);
  // SSD1306_SWITCHCAPVCC = generate display voltage from 3.3V internally
  if(!display.begin(SSD1306_SWITCHCAPVCC, SCREEN_ADDRESS)) {
    Serial.println(F("SSD1306 allocation failed"));
    for(;;); // Don't proceed, loop forever
  }
  display.clearDisplay();
  display.setFont(&FreeSans9pt7b);
  display.setTextSize(1);      // Normal 1:1 pixel scale
  display.setTextColor(SSD1306_WHITE); // Draw white text
  display.setCursor(0, 24);     // Start at top-left corner
  display.cp437(true);         // Use full 256 char 'Code Page 437' font
  display.write("Temperature        Sensor"); // Welcome page
  display.display();
  delay(5000);
  display.setFont();
}

void loop() {
  // This area is the code for the sensor to read and display data.
  temp = ((-40 + 0.488155 * (analogRead(A0) - 20)) + 0);
  Serial.println(temp);
  display.clearDisplay();
  display.setTextSize(1);
  display.setTextColor(SSD1306_WHITE);
  display.setCursor(0, 0);
  display.cp437(true);
  display.write("Current Temperature:"); // Sets the top line
  display.setTextSize(1);
  display.setFont(&FreeSans24pt7b);
  display.setCursor(0, 56);
  char _buffer[8];
  sprintf(_buffer, "%02u", temp); // Converts int to char
  display.write(_buffer); // Displays the temperature
  display.drawCircle(84, 24, 3, SSD1306_WHITE); // Degrees sign
  display.setCursor(96, 56);
  display.write("C");
  display.display();
  display.setFont();
  delay(10000); // Refreshes every 10 seconds
}
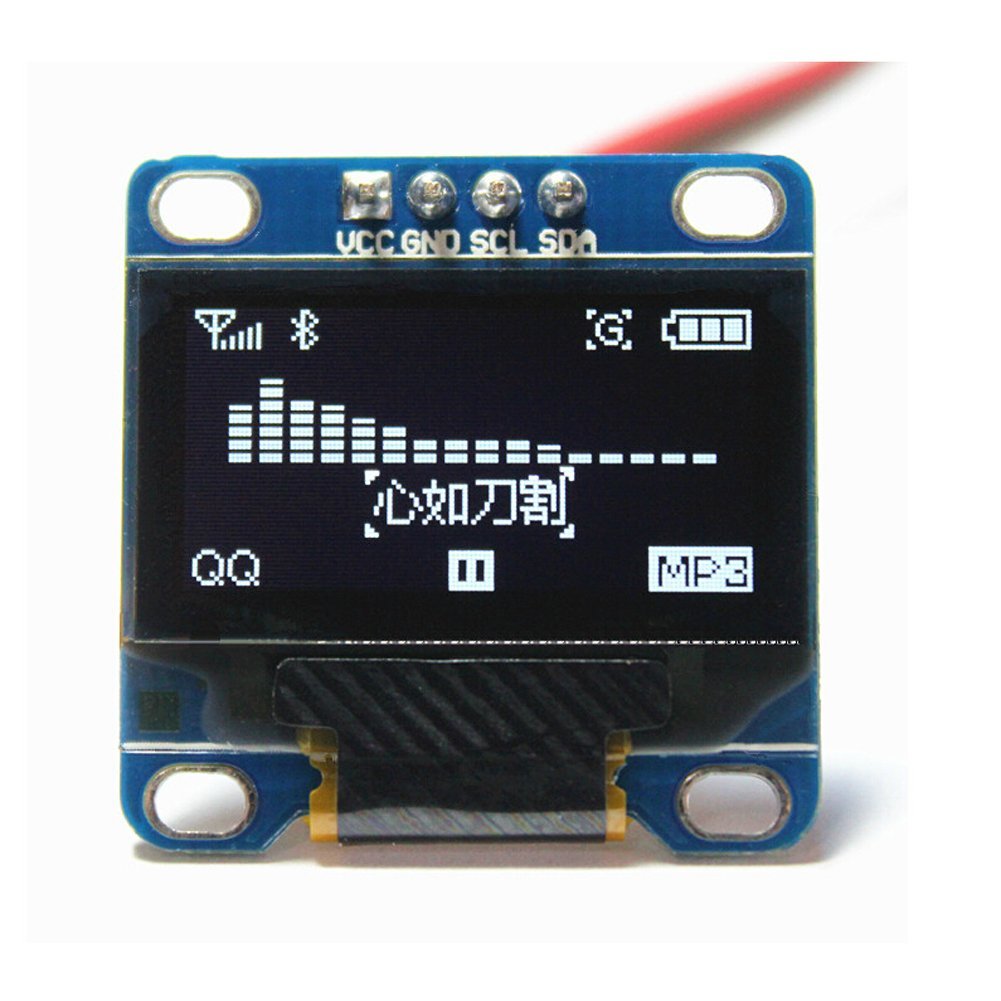
This is how it looks like!
Resources and Going Further
If you would like to learn more about the OLED display, do hit up the resources below:
- https://learn.adafruit.com/16-channel-pwm-servo-driverhttps://learn.adafruit.com/monochrome-oled-breakouts/overview
- https://randomnerdtutorials.com/guide-for-oled-display-with-arduino/
- https://learn.adafruit.com/adafruit-gfx-graphics-library/overview