SSTuino II without the Explorer Board!
Overview
Feeling confident on how to use the SSTuino? Or wanting to integrate your SSTuino into smaller projects? This short tutorial will teach you how to detach the Explorer Board and the SSTuino II, and place it back afterwards.
Disassembly
Before we detach the 2 items, we must make sure that the SSTuino is not:
- Connected to your LD
- Connected to your breadboard circuits
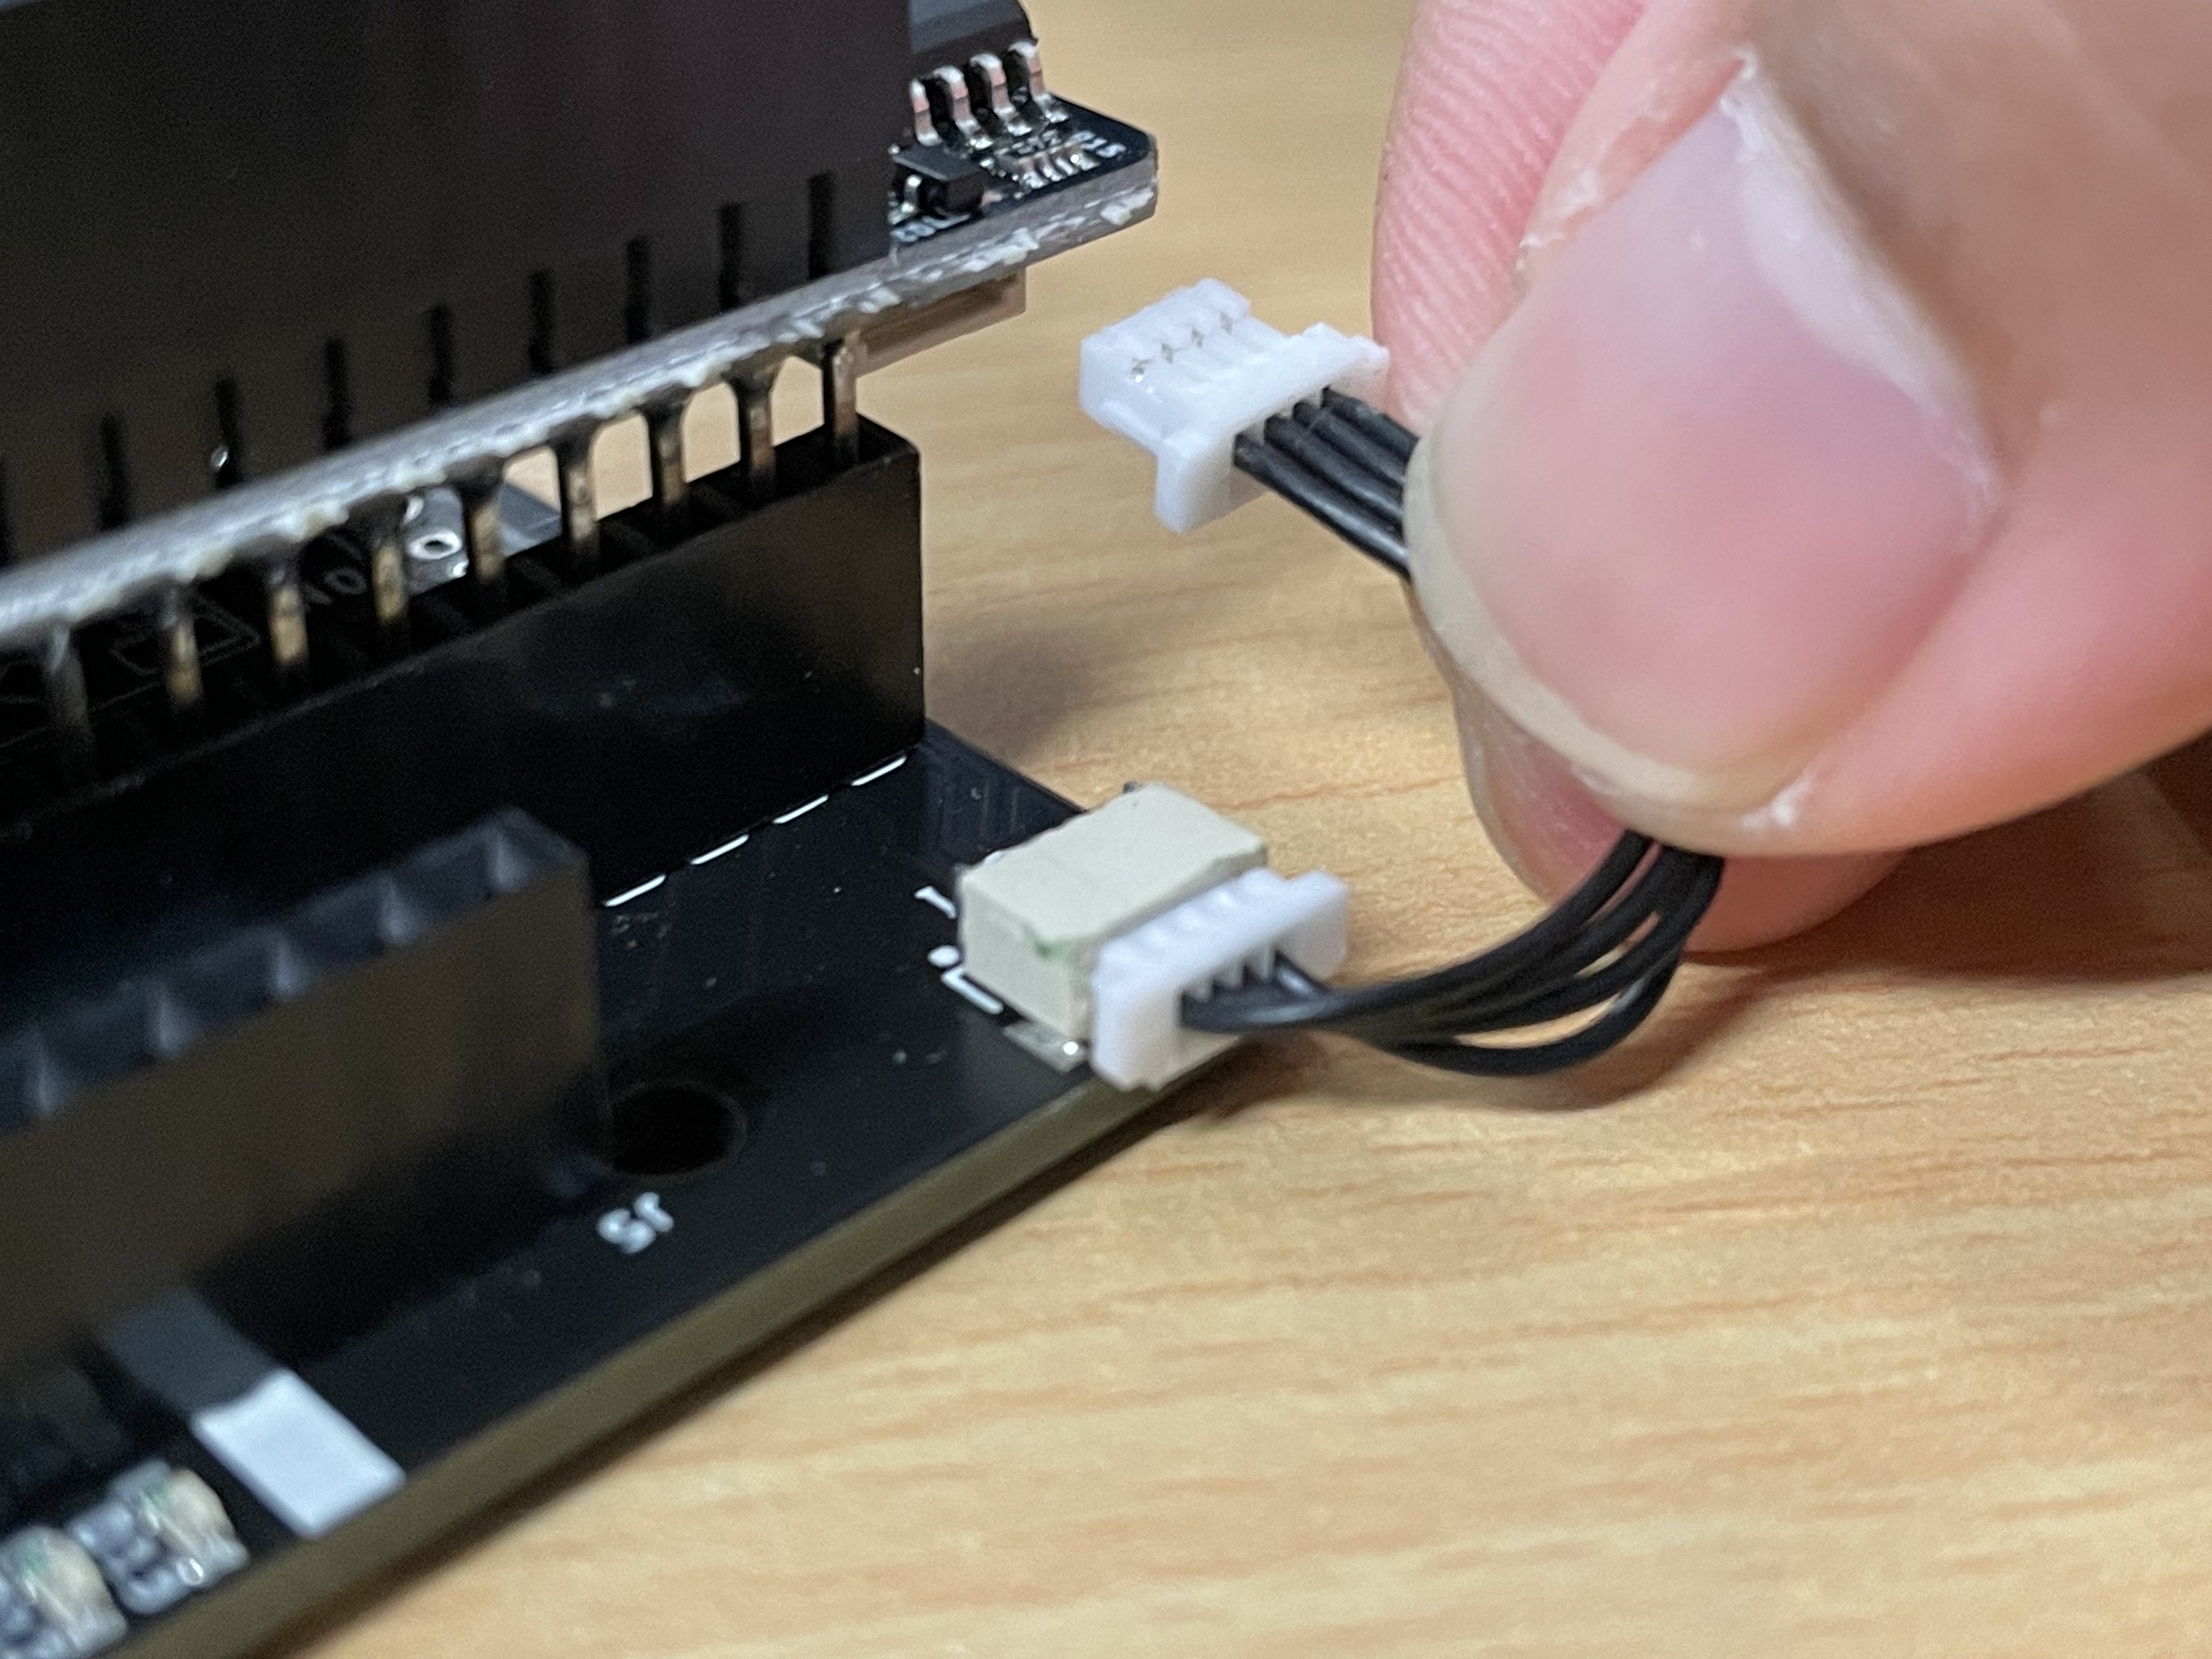
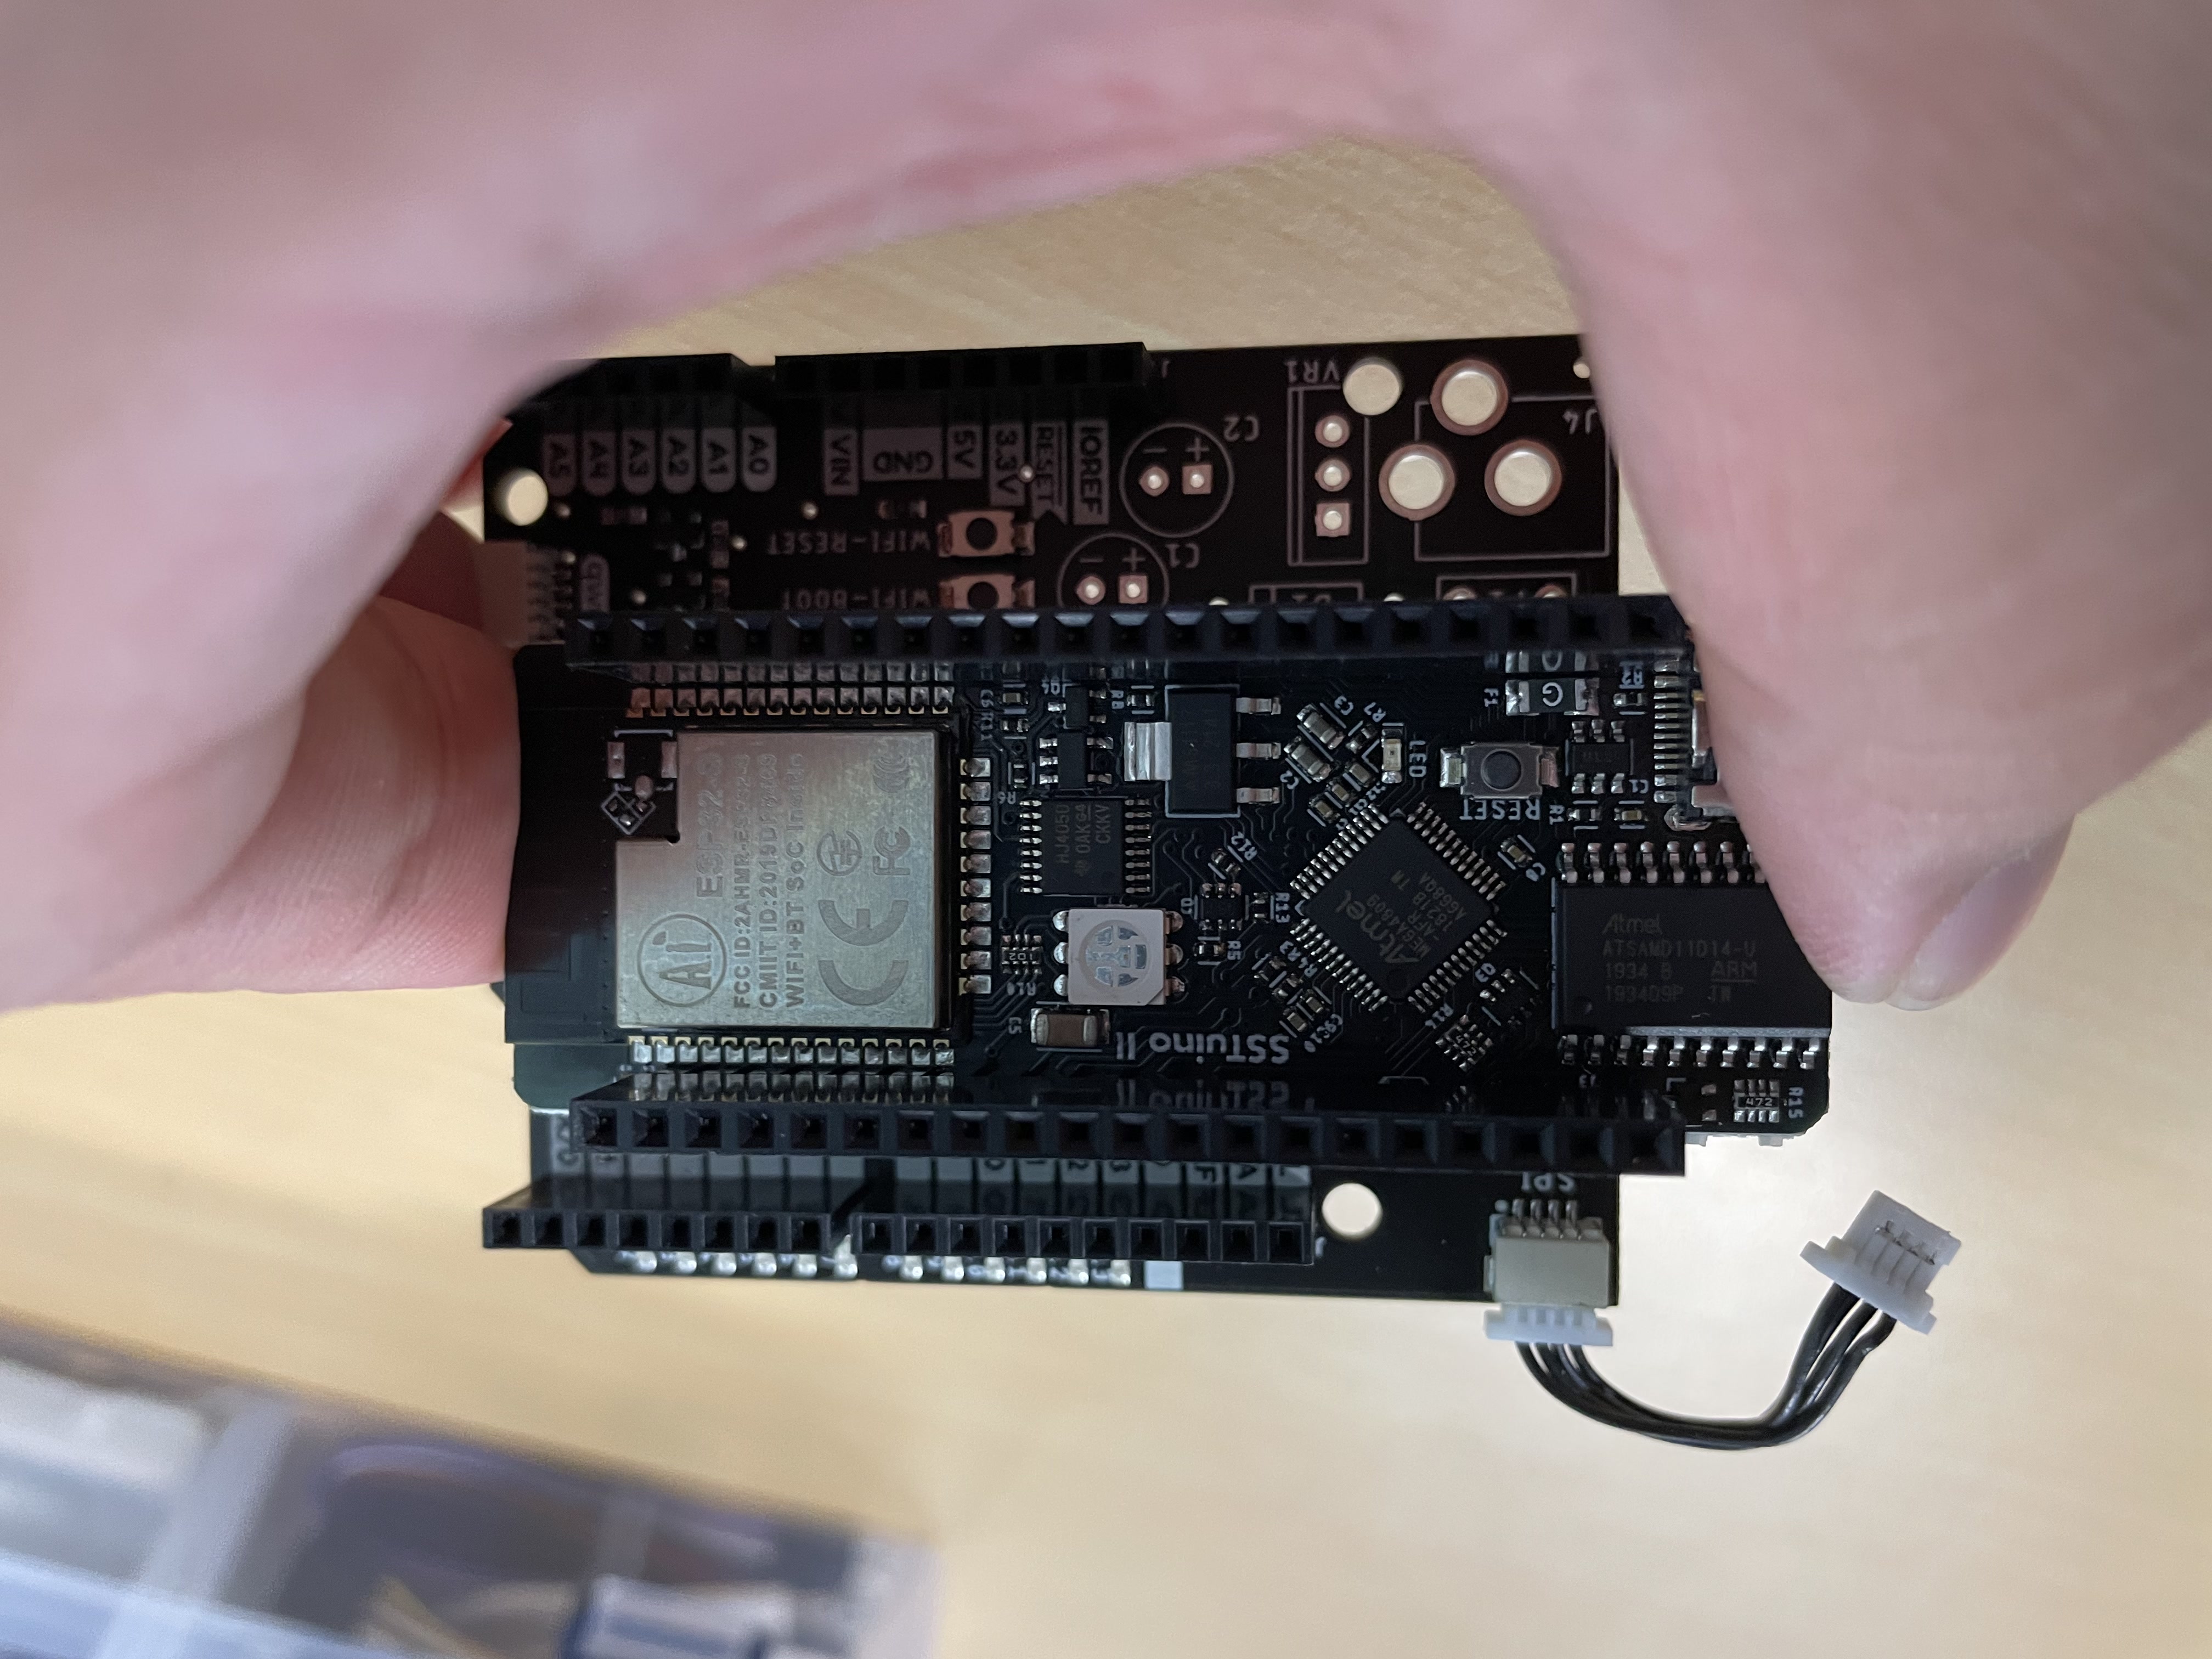
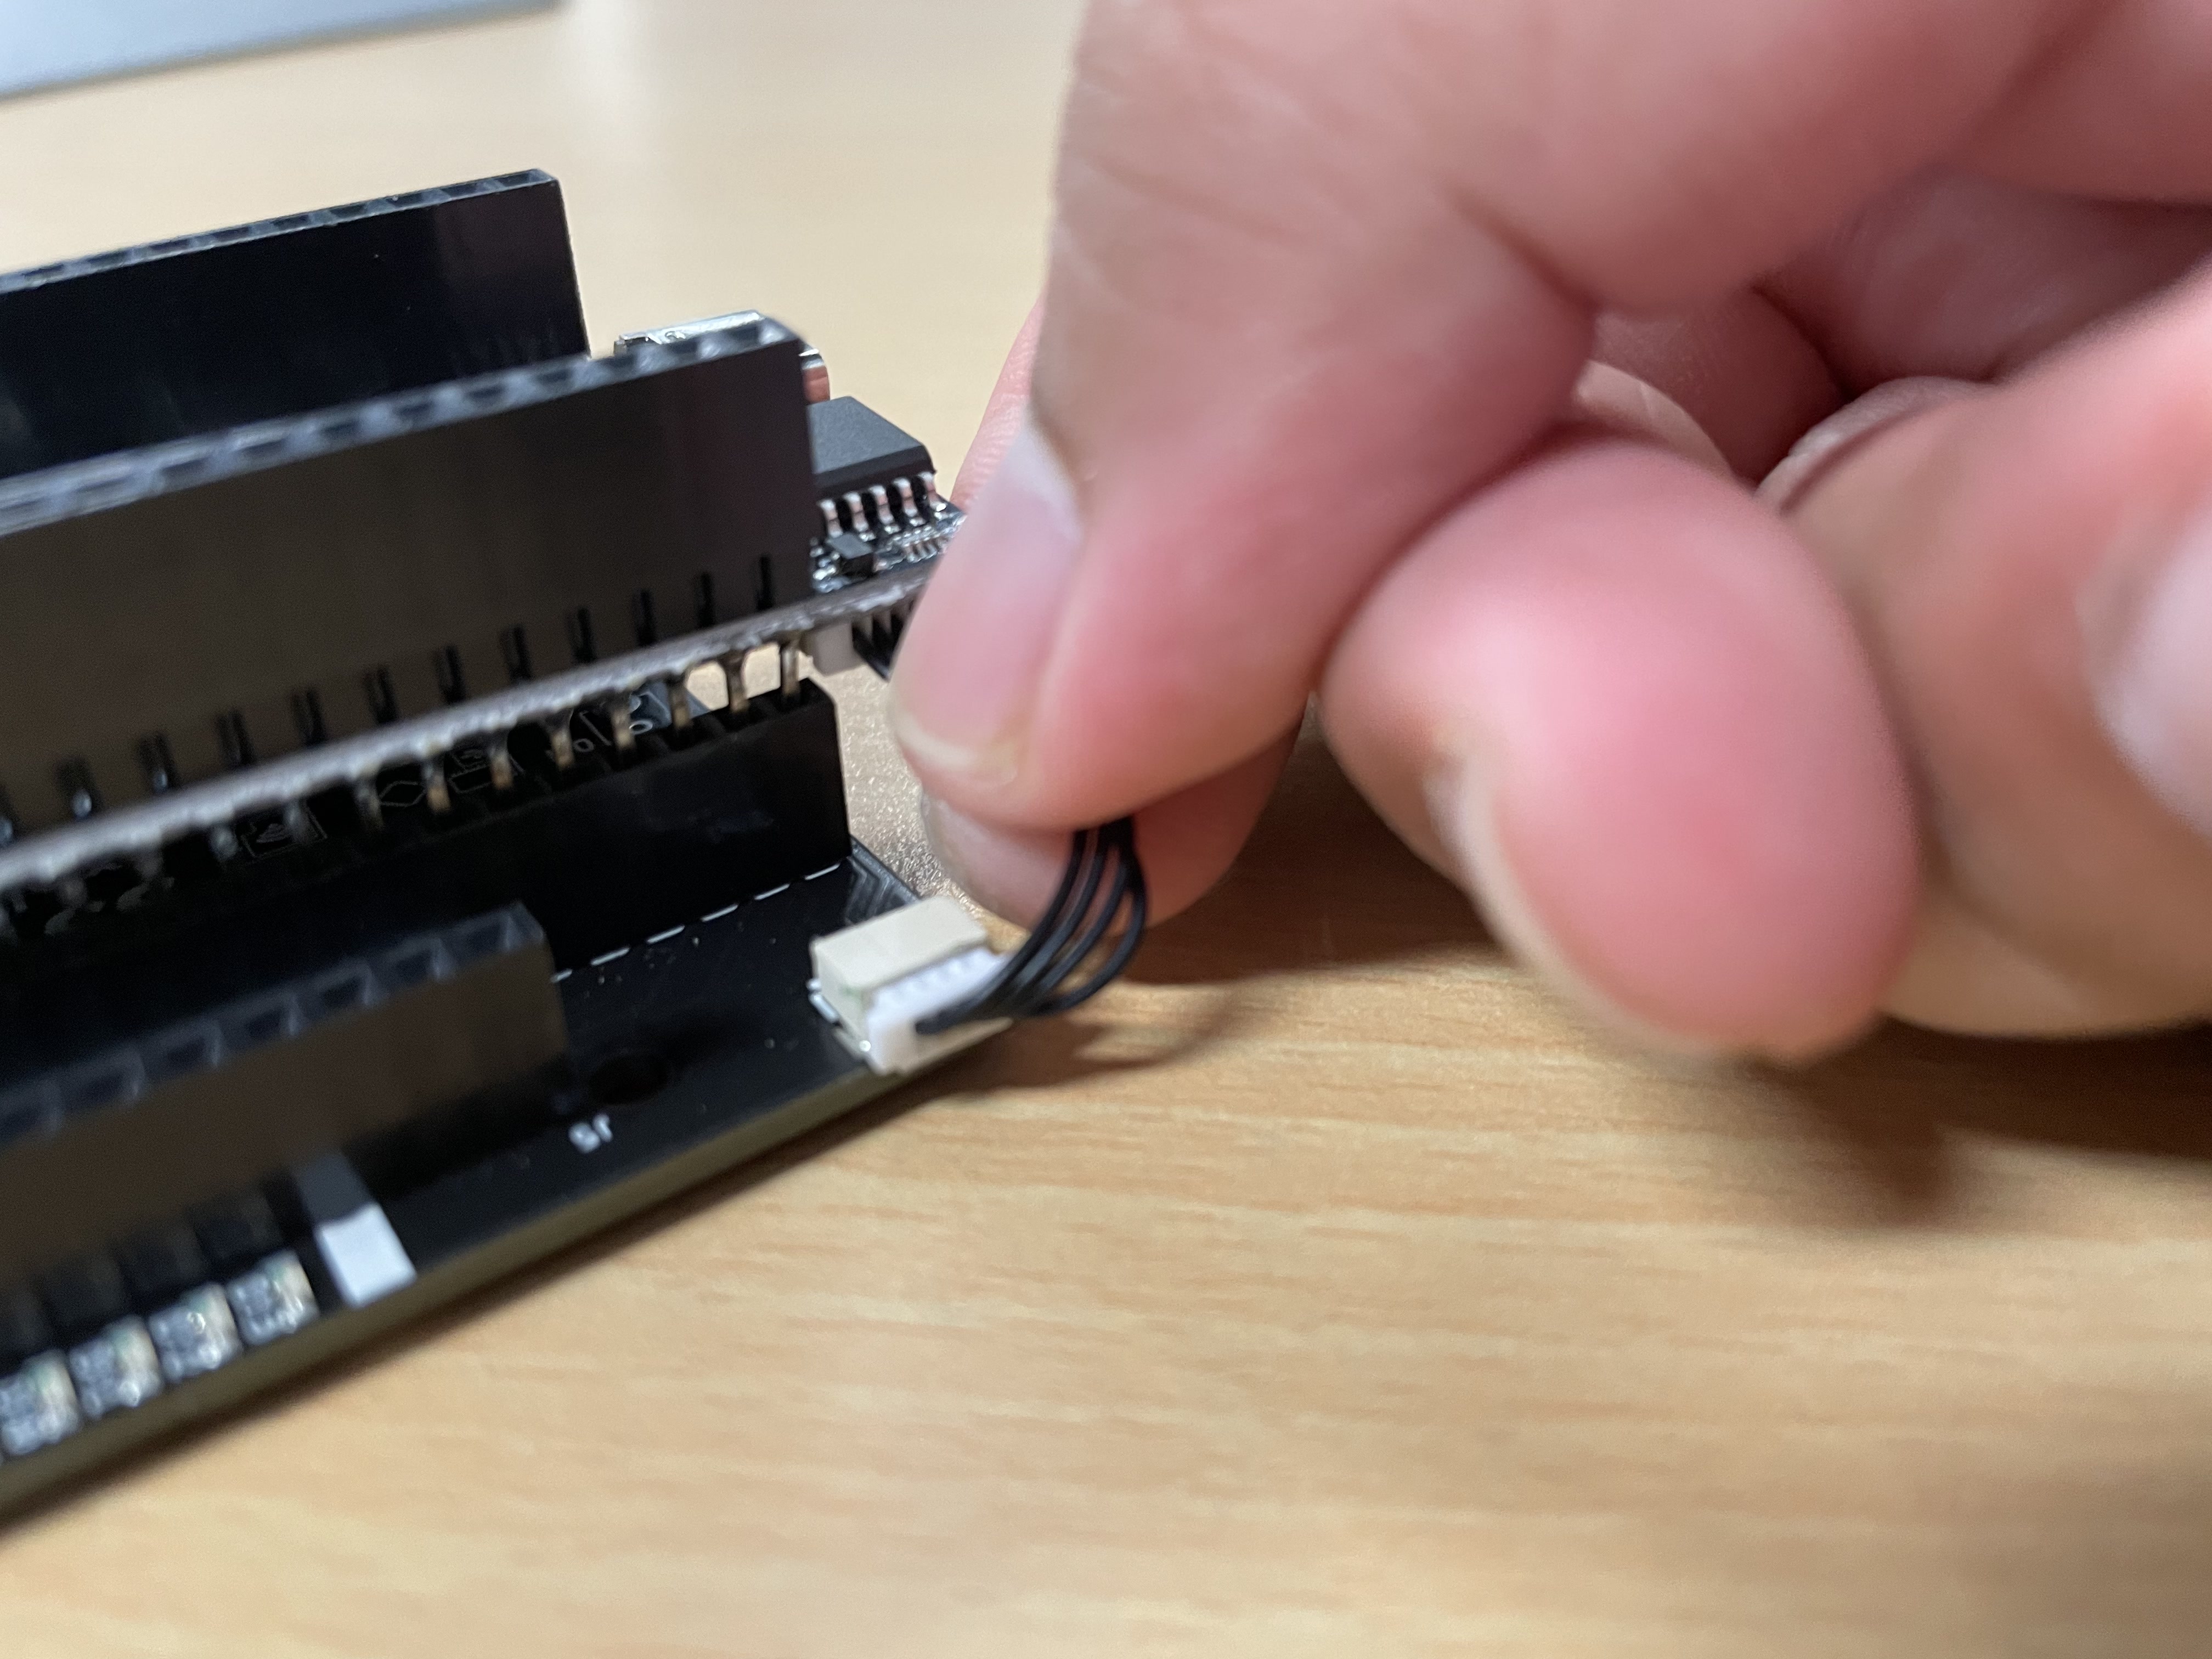
Next, detach the JST Cable on the side as so:

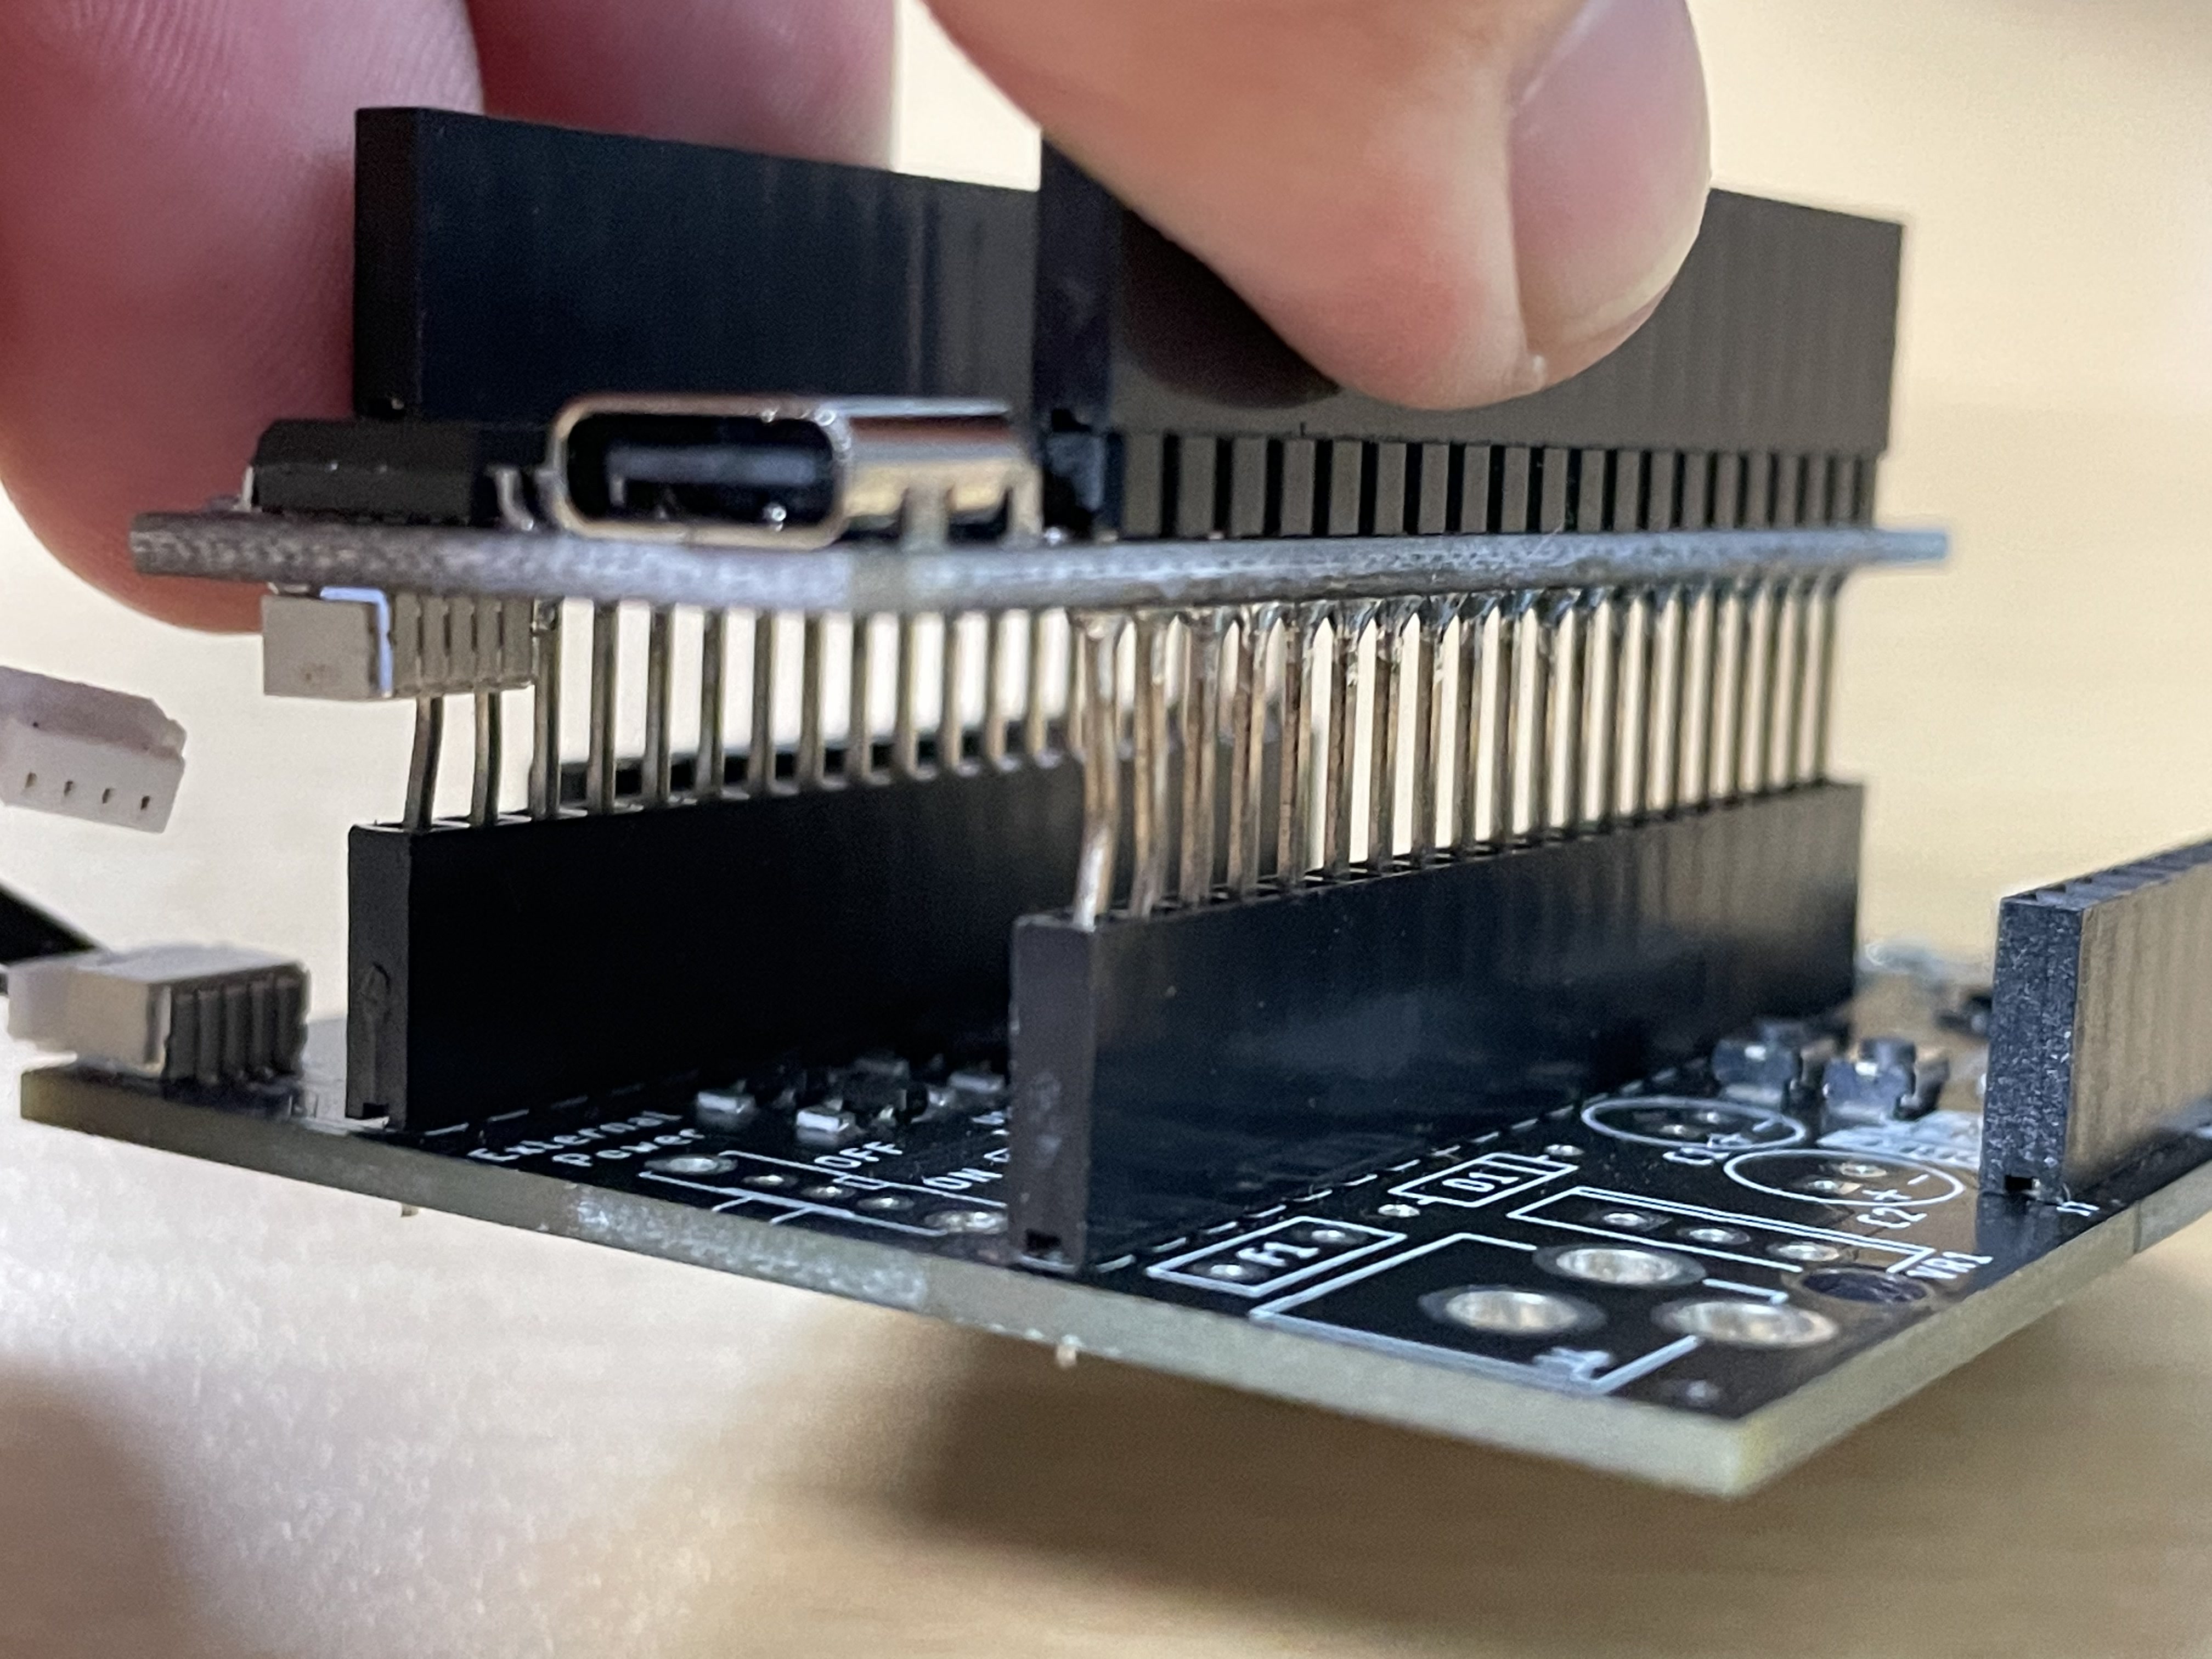
The next step will potentially damage your device if not done properly! Please be gentle while detaching the SSTuino from the Explorer Board.
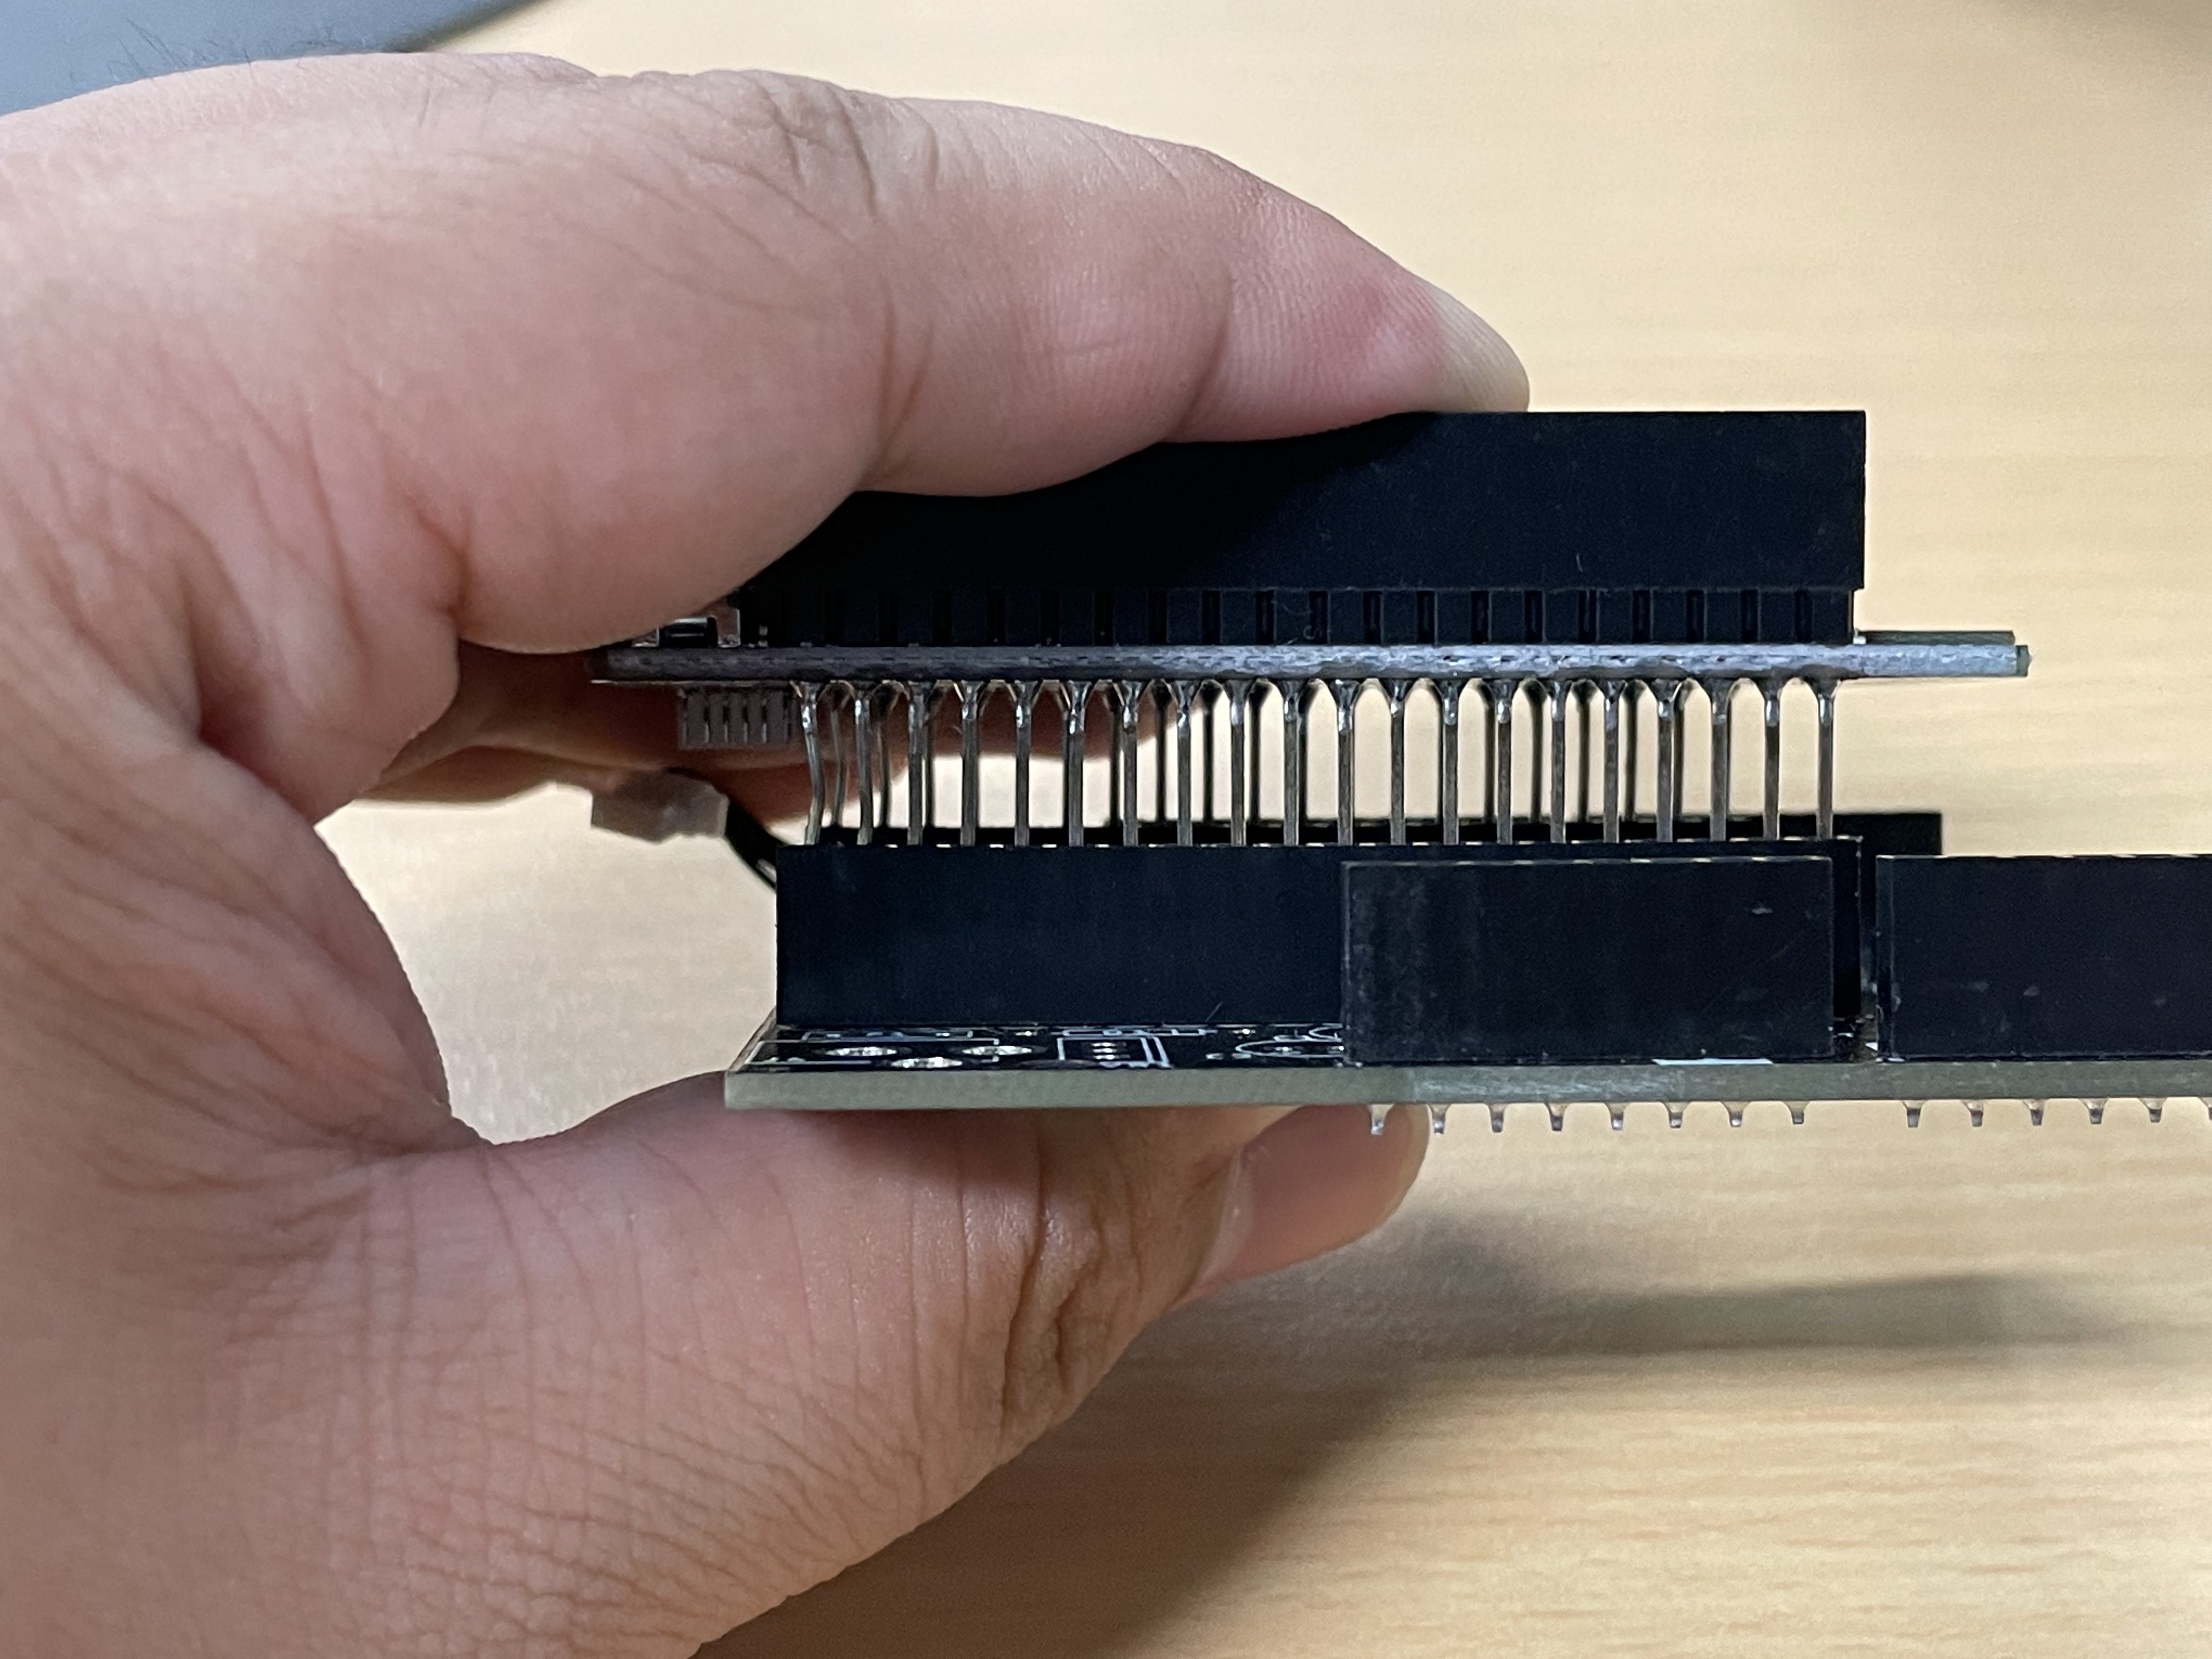
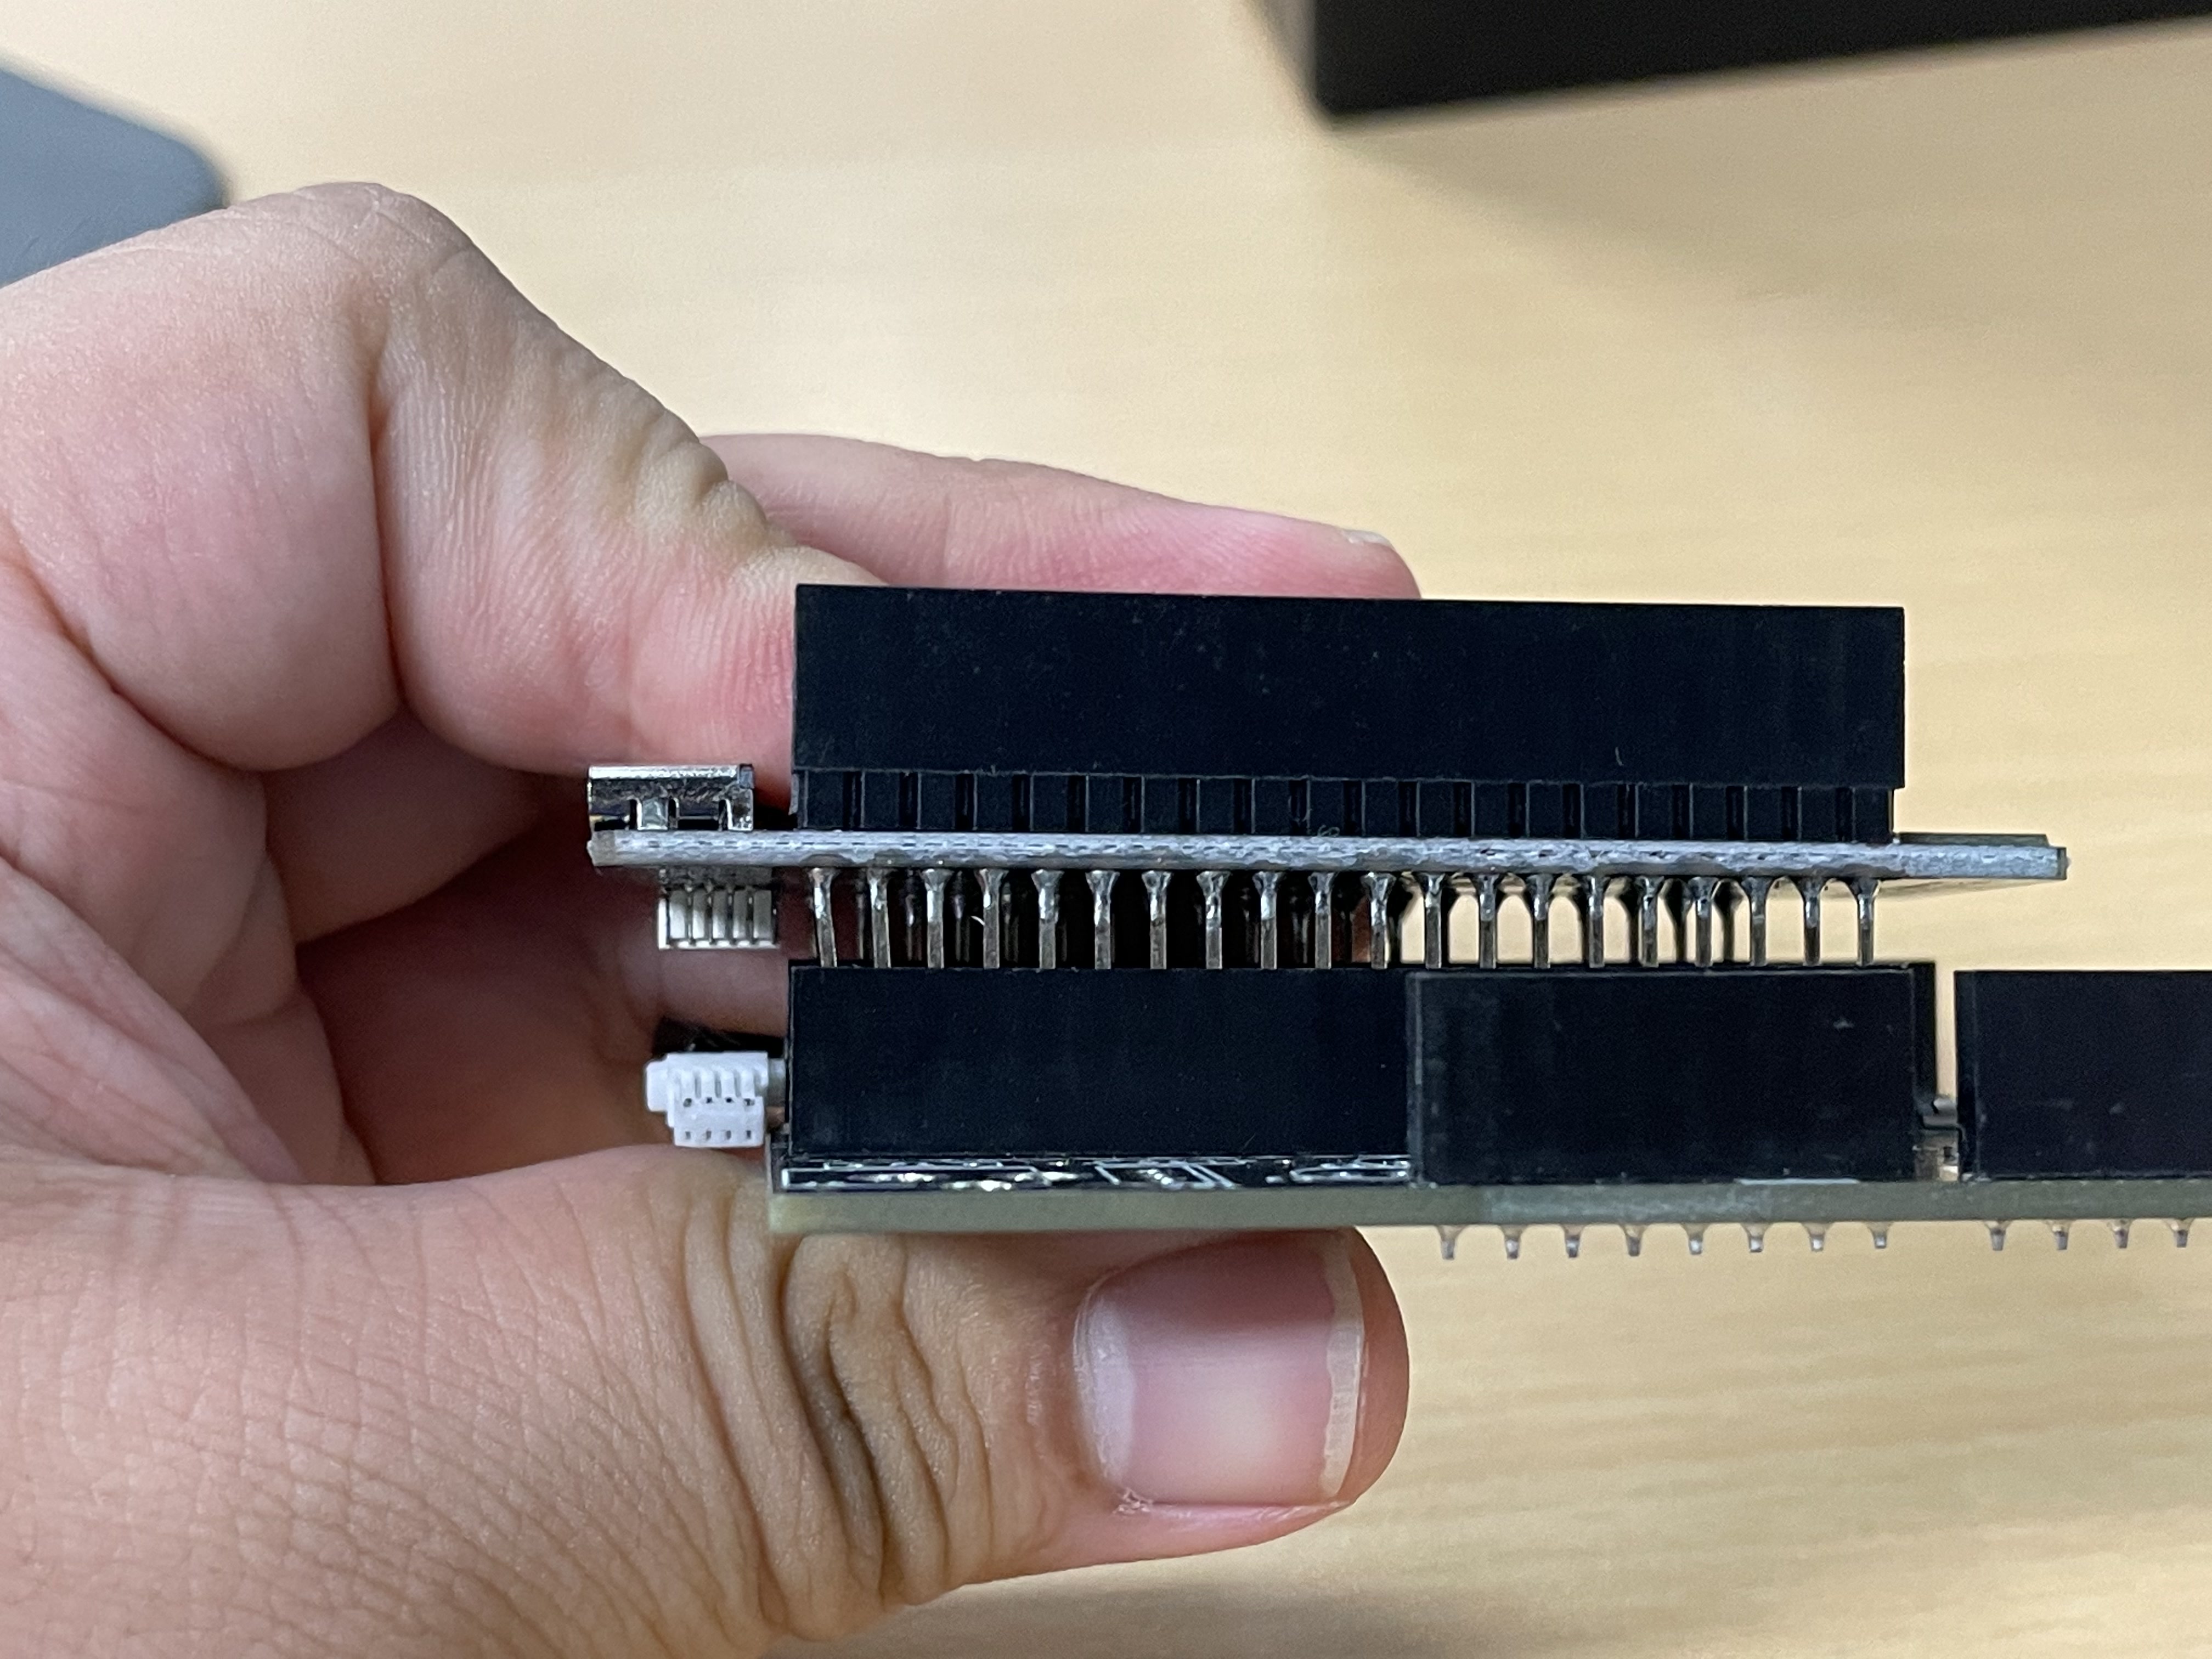
With fingers on both the short end of the SSTuino, pull if off the Explorer Board as so (gently):
With this, you have successfully detached the SSTuino from the Explorer Board.
How to integrate the SSTuino into your project?
There are exposed pins below the SSTuino after you detach it from the Explorer Board. Hence, please make sure that the surface that the SSTuino is placed on is non-electrically conductive. Other than that, the SSTuino can be placed anywhere in your project!
Assembly
The next step will potentially damage your device if not done properly! Please be gentle while attaching the SSTuino to the Explorer Board.
To assemble the SSTuino back into the Explorer Board, carefully align the pins of both devices and press them in like so:
Afterwards, connect back the JST connector like so:

Troubleshooting
If you happen to bend the pins, please do not worry. Gently bend back the pins and plug the SSTuino into the intended component.
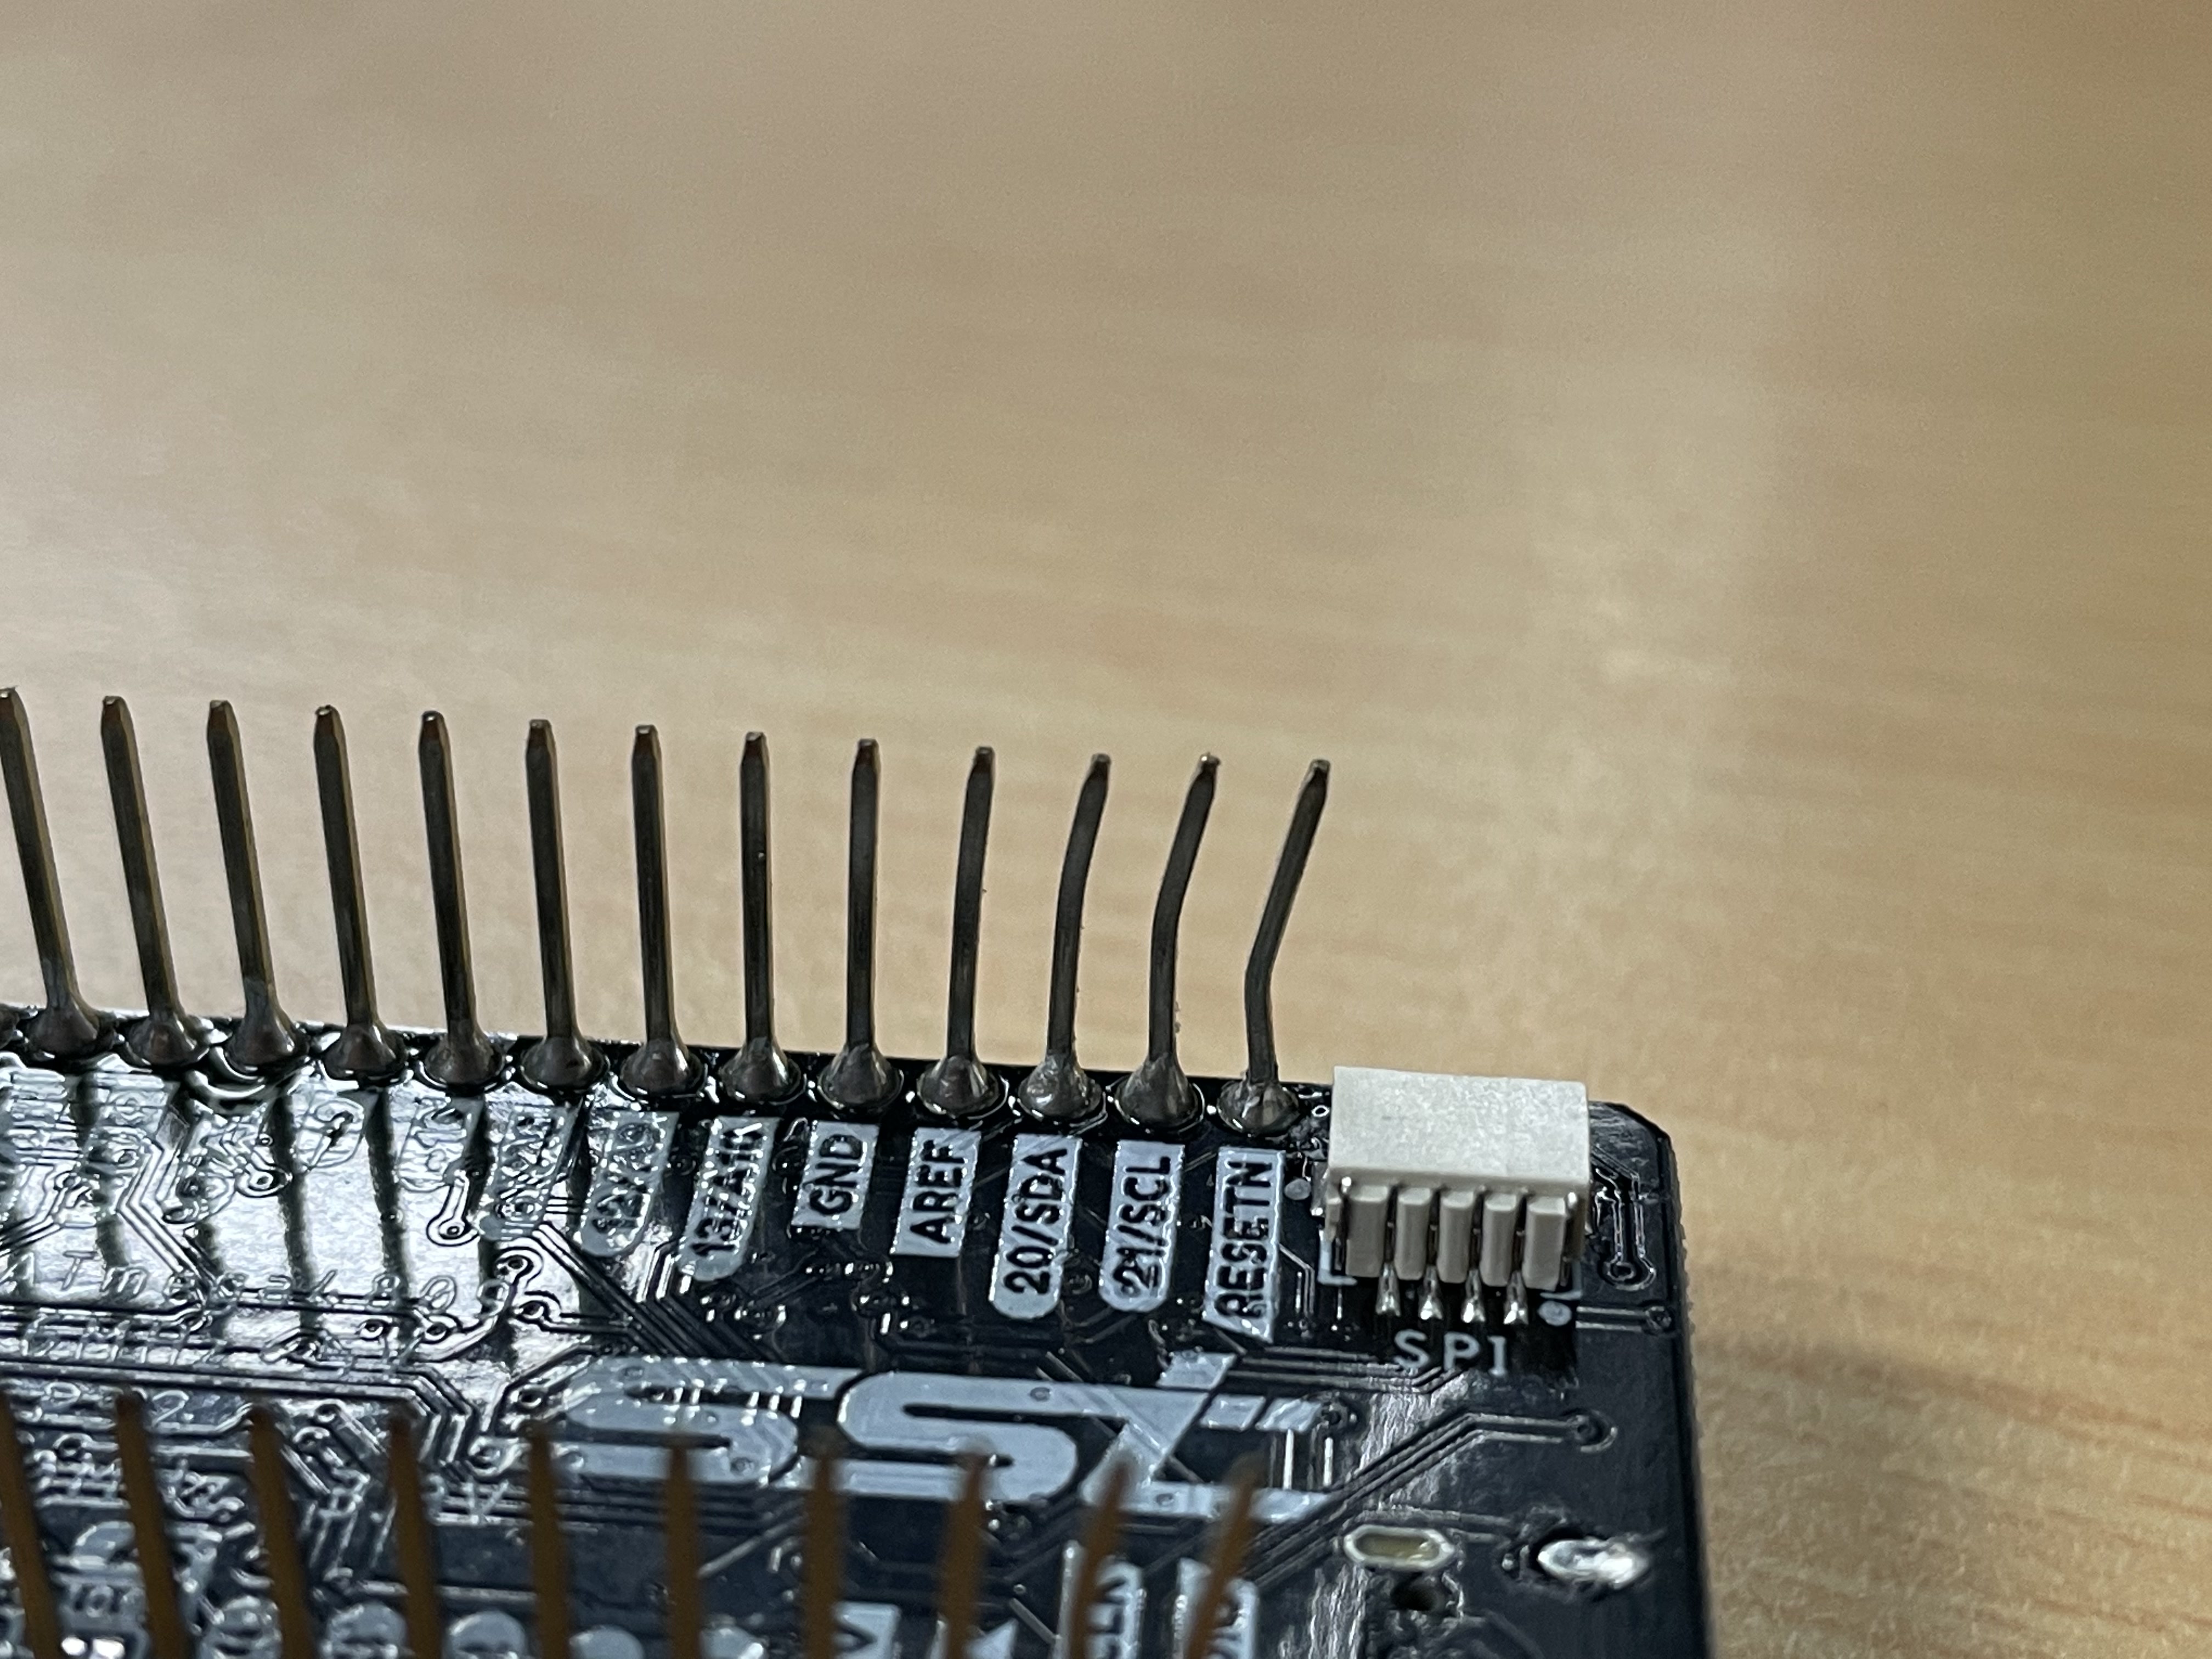
Please do not use any large tools such as pliers as they may potentially break the pins.