Temperature Sensor
In this tutorial, we are going to learn about the TMP36 Temperature Sensor. Next, we will get started with a simple circuit, and challenge yourselves with a task!
Table of Contents
About the Sensor
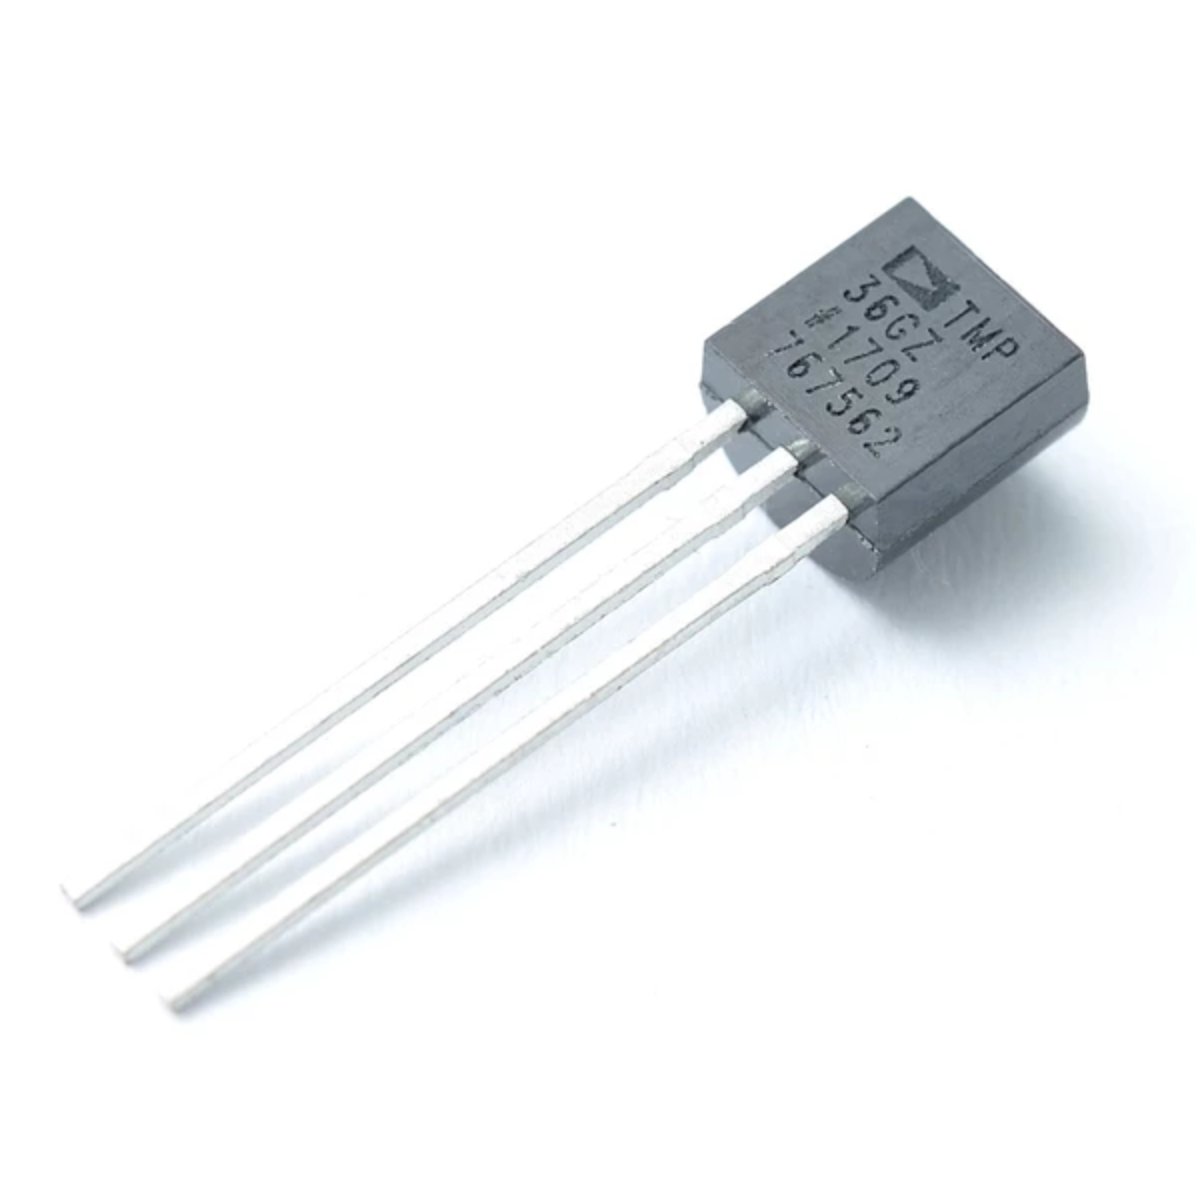
The TMP36 Temperature Sensor is cheap and simple to use. It is able to measure temperature both below and above 0º C. It has no mercury as compared to traditional thermometers. Instead, it is a solid-state device that changes the voltage across a diode when the temperature changes.
It generates an analog signal that is proportionate to temperature change, which is very easy to read from a microcontroller like the SSTuino!
TinkerCAD Example
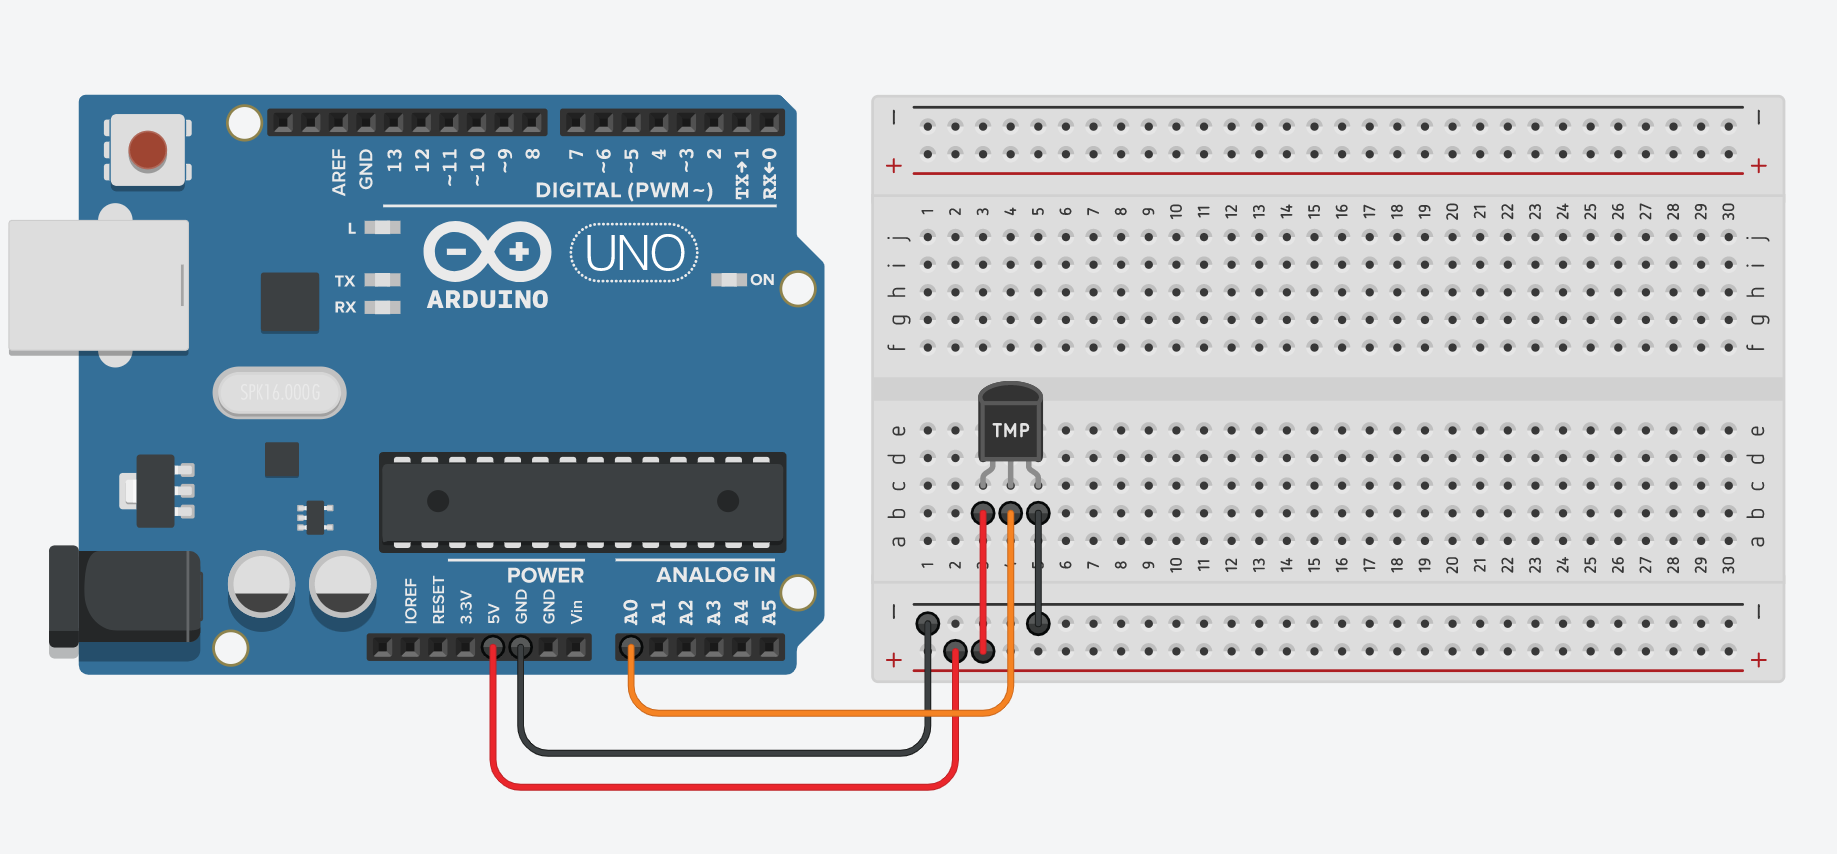
Let's create a new circuit, and set up the TinkerCAD circuit like this:
Next, we will program it in blocks such that it outputs temperature to the serial monitor, with options to calibrate the sensor by adding or subtracting the result.

This is what it looks like when you start the simulation:
Explanation of Text Code
Let's download the code from TinkerCAD and open it in the Arduino IDE. Attached below is an "explained" version of the code:
int temp = 0; // Setup the variable 'temp' as an integer and starts as 0

void setup()
{
  pinMode(A0, INPUT); //set pin A0 as input
  Serial.begin(9600); //start serial monitor

}

void loop()
{
  temp = (-40 + 0.488155 * (analogRead(A0) - 20) + 0); //calculations to convert voltage drop measured from A0 into temperature. Change 0 to calibrate sensor.
  Serial.println(temp); //print variable 'temp' to serial monitor
}
Let's try this on the SSTuino!
Warning: To prevent damage to your Learning Device or your components, please do not connect the SSTuino to your LD or power supply when you are wiring up your circuit.
Here is what it looks like:
Challenge yourself
Using the bar graph example we did in the previous tutorials, how would you set the temperature sensor up such that when it is hotter, more LEDs will light up?